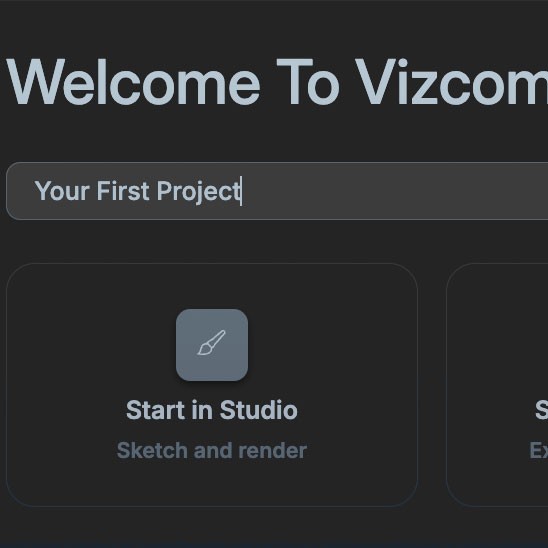
Your First Project
Phase 1: Master the Basics (Design Mode)
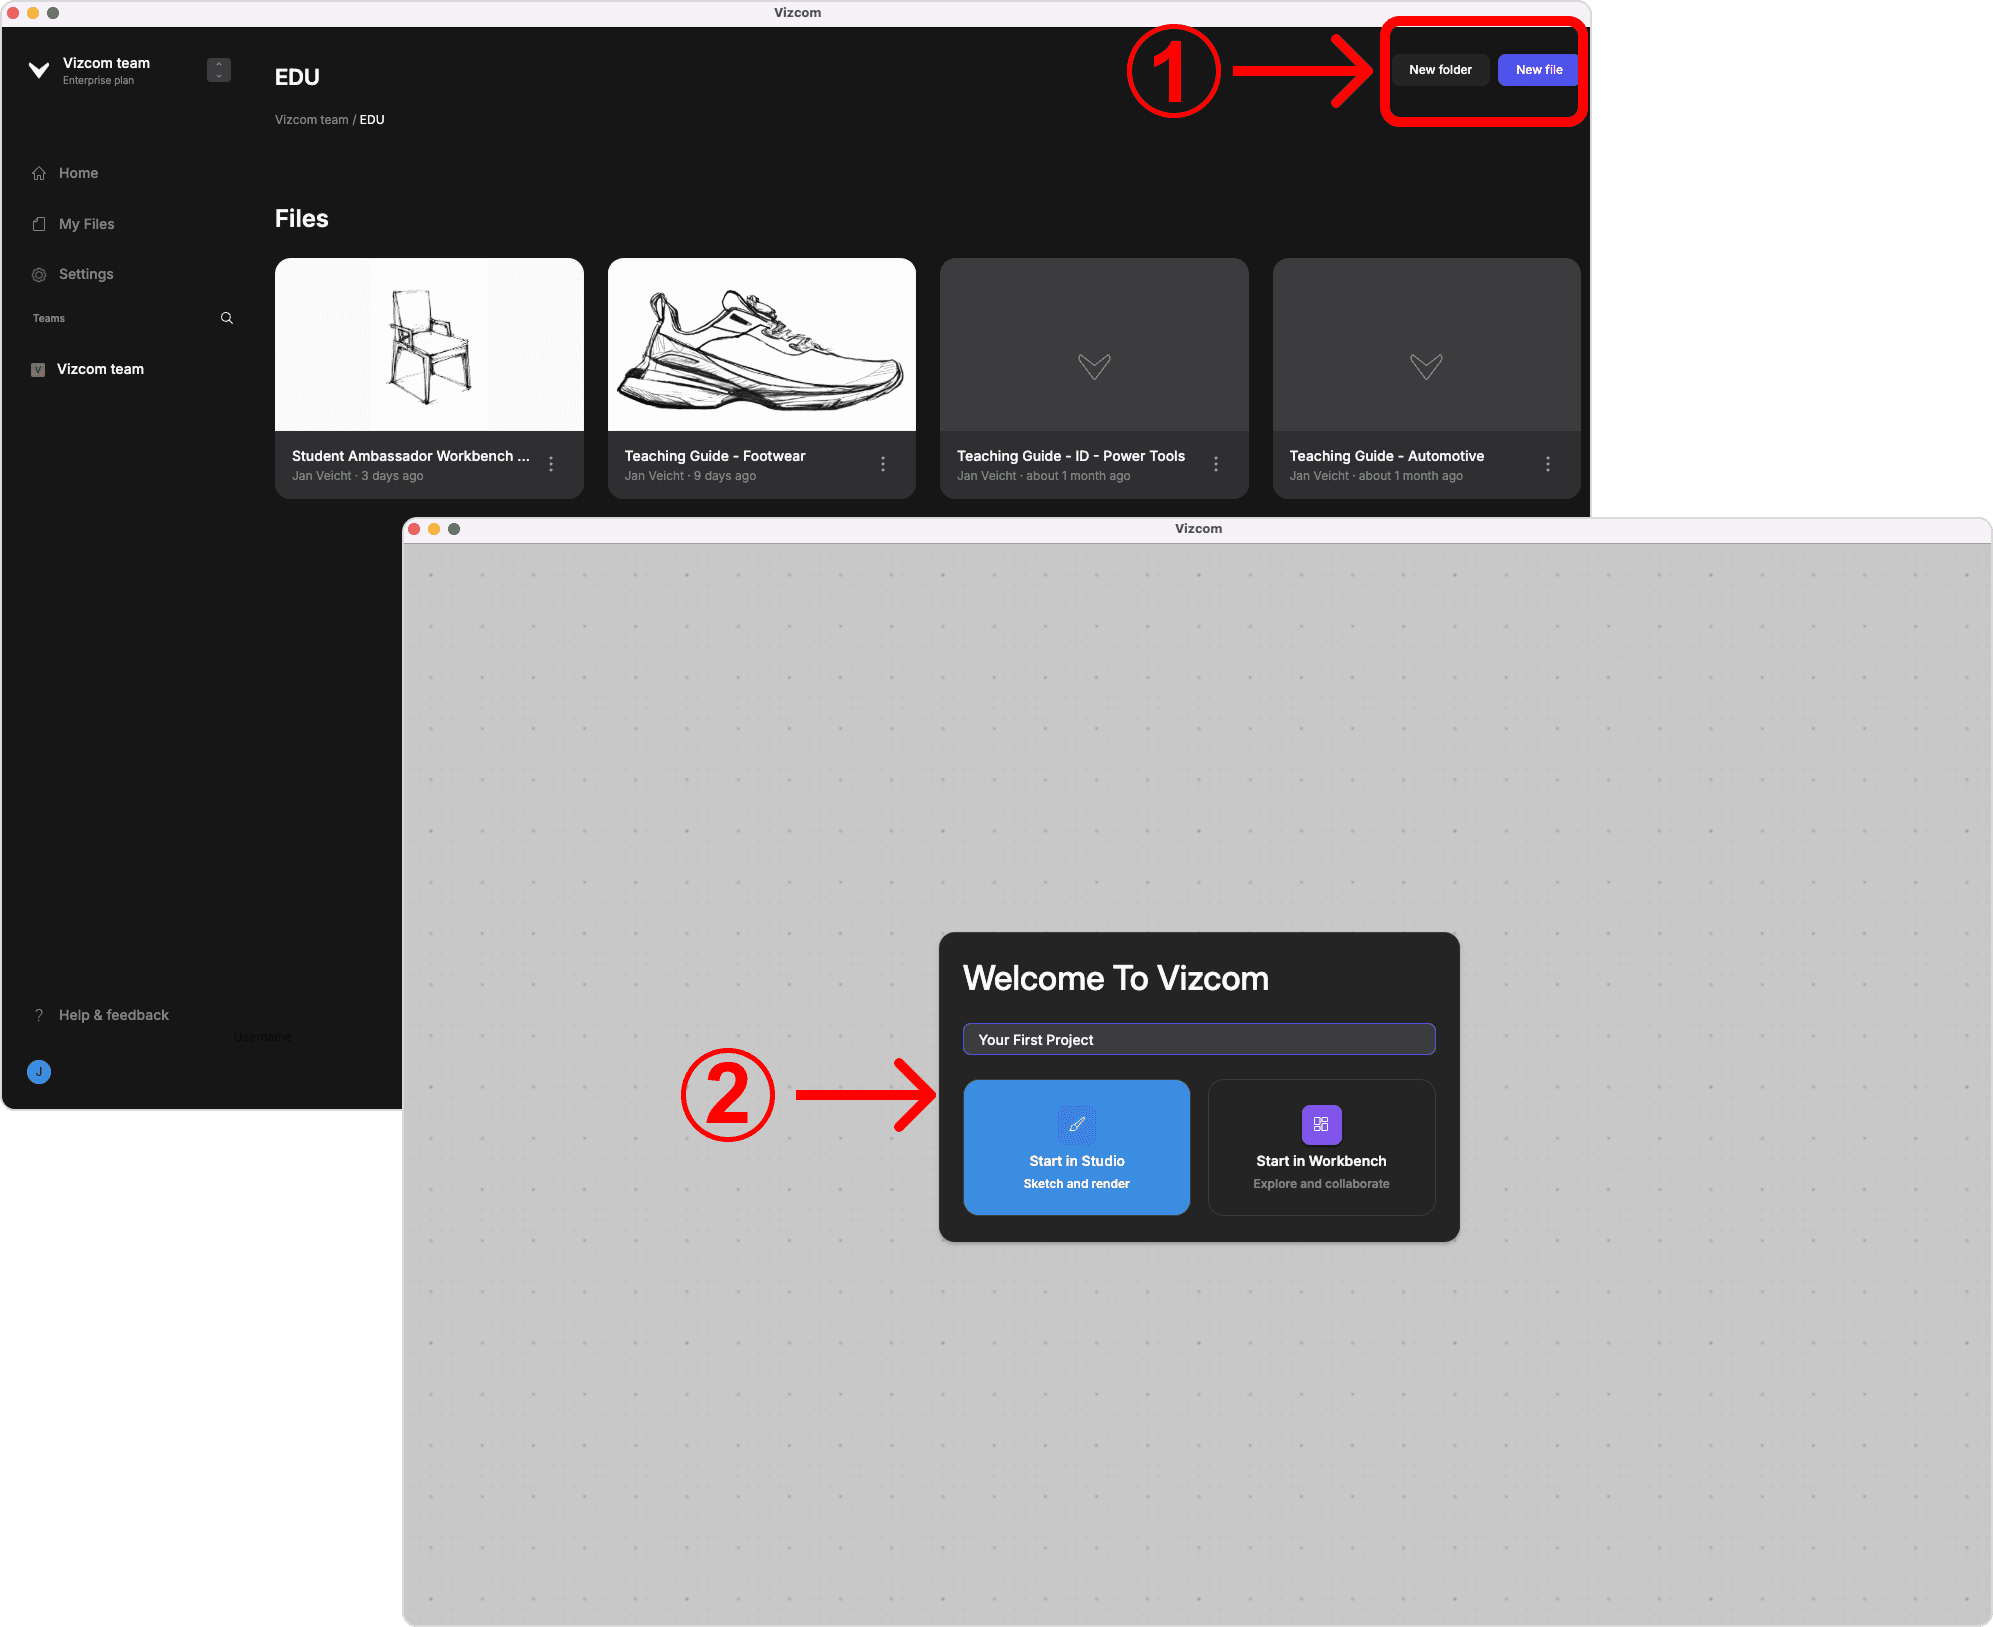
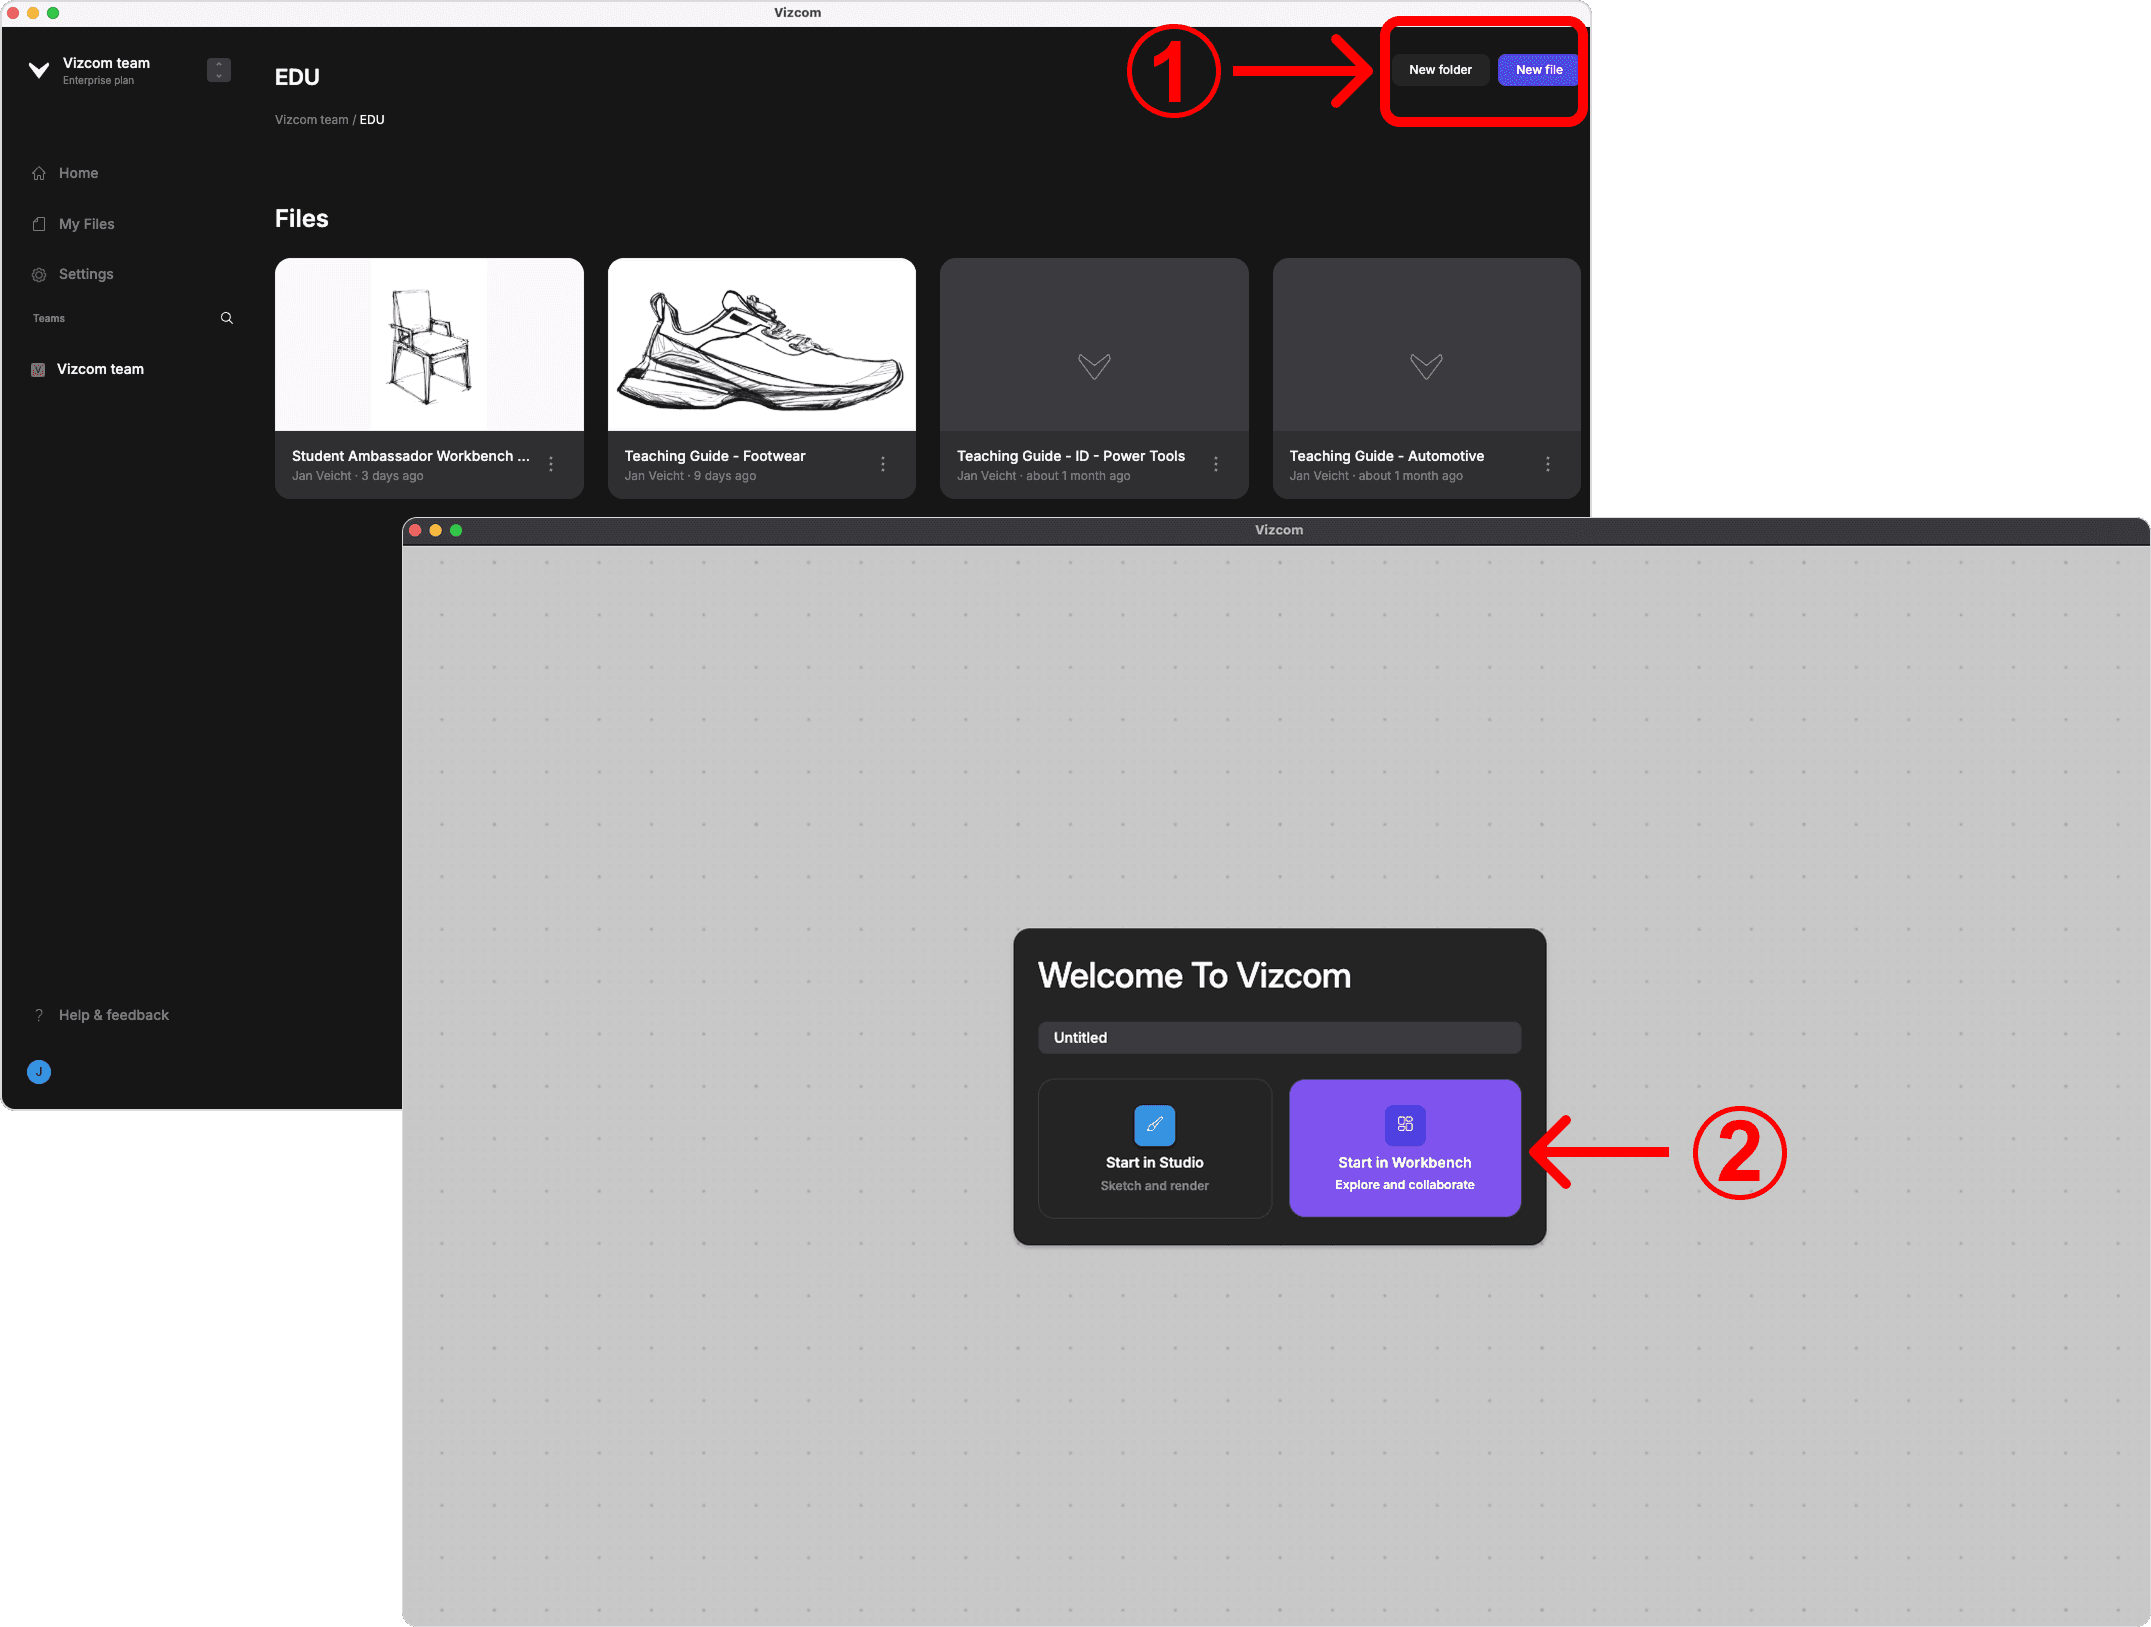
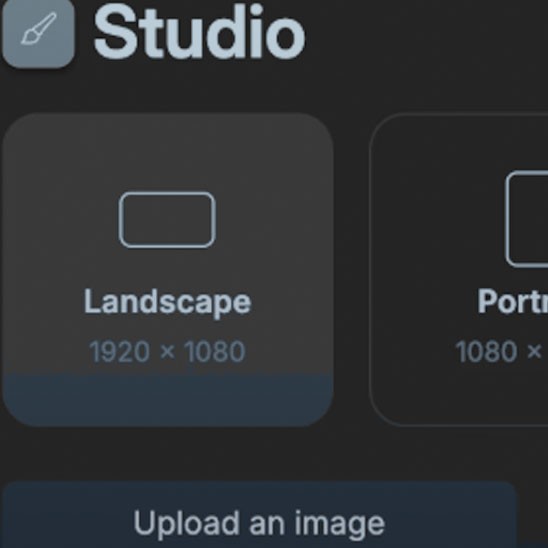
Step 1: Start a New Project
Click "New Project" in the main toolbar
Choose a blank canvas (studio)
Give your project an identifiable name
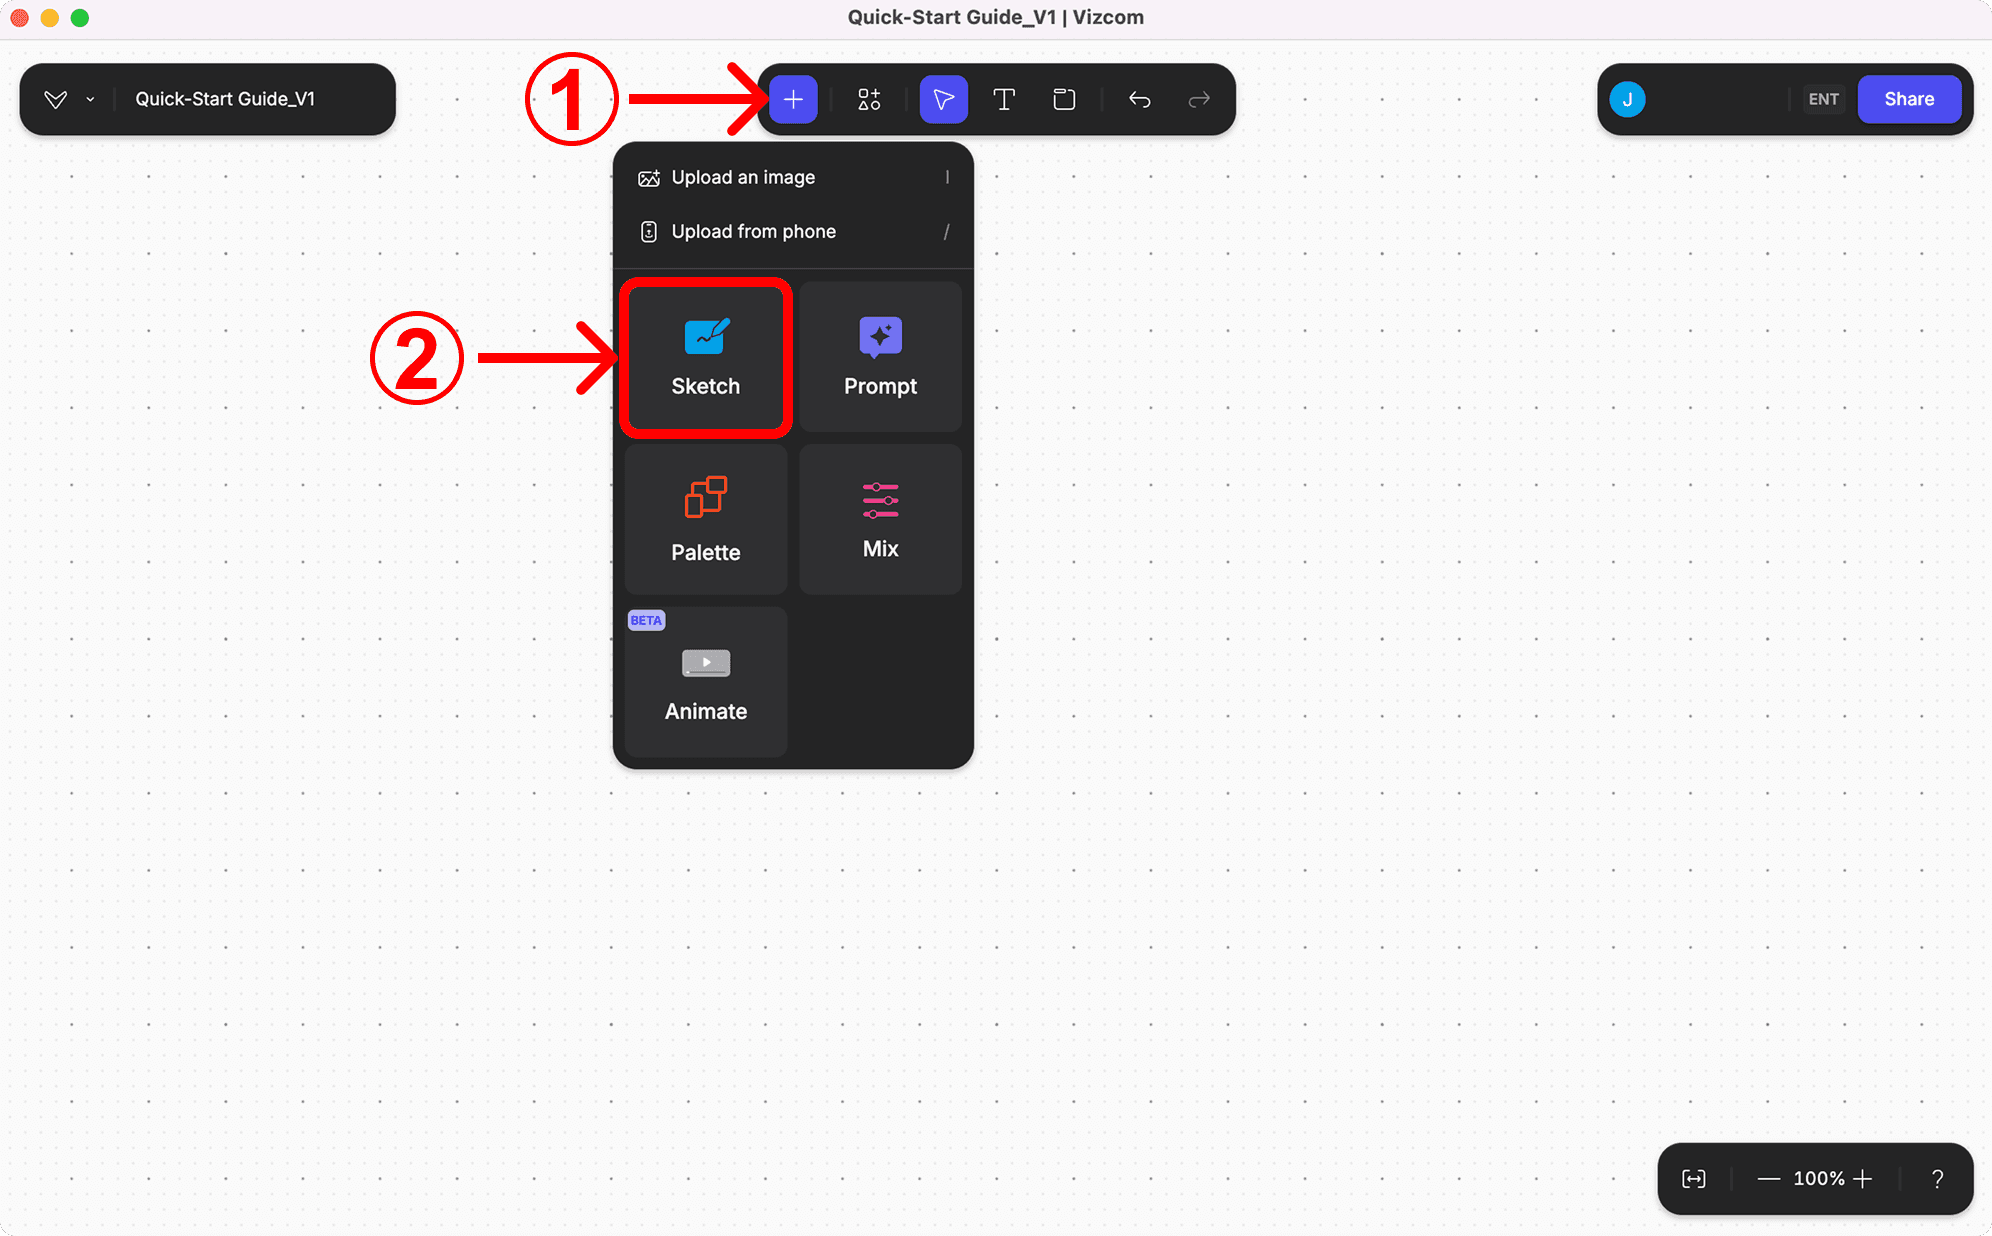
Step 2: Add Your Design Input
Option A: Upload an Existing Sketch
Click the "Upload" button in the tools panel
Select a sketch file (.jpg, .png, .pdf)
Your sketch will appear in the design mode canvas
Option B: Draw Directly in Vizcom
Select the sketch tool from the tools panel
Draw directly on the canvas
Use the eraser tool to refine your sketch
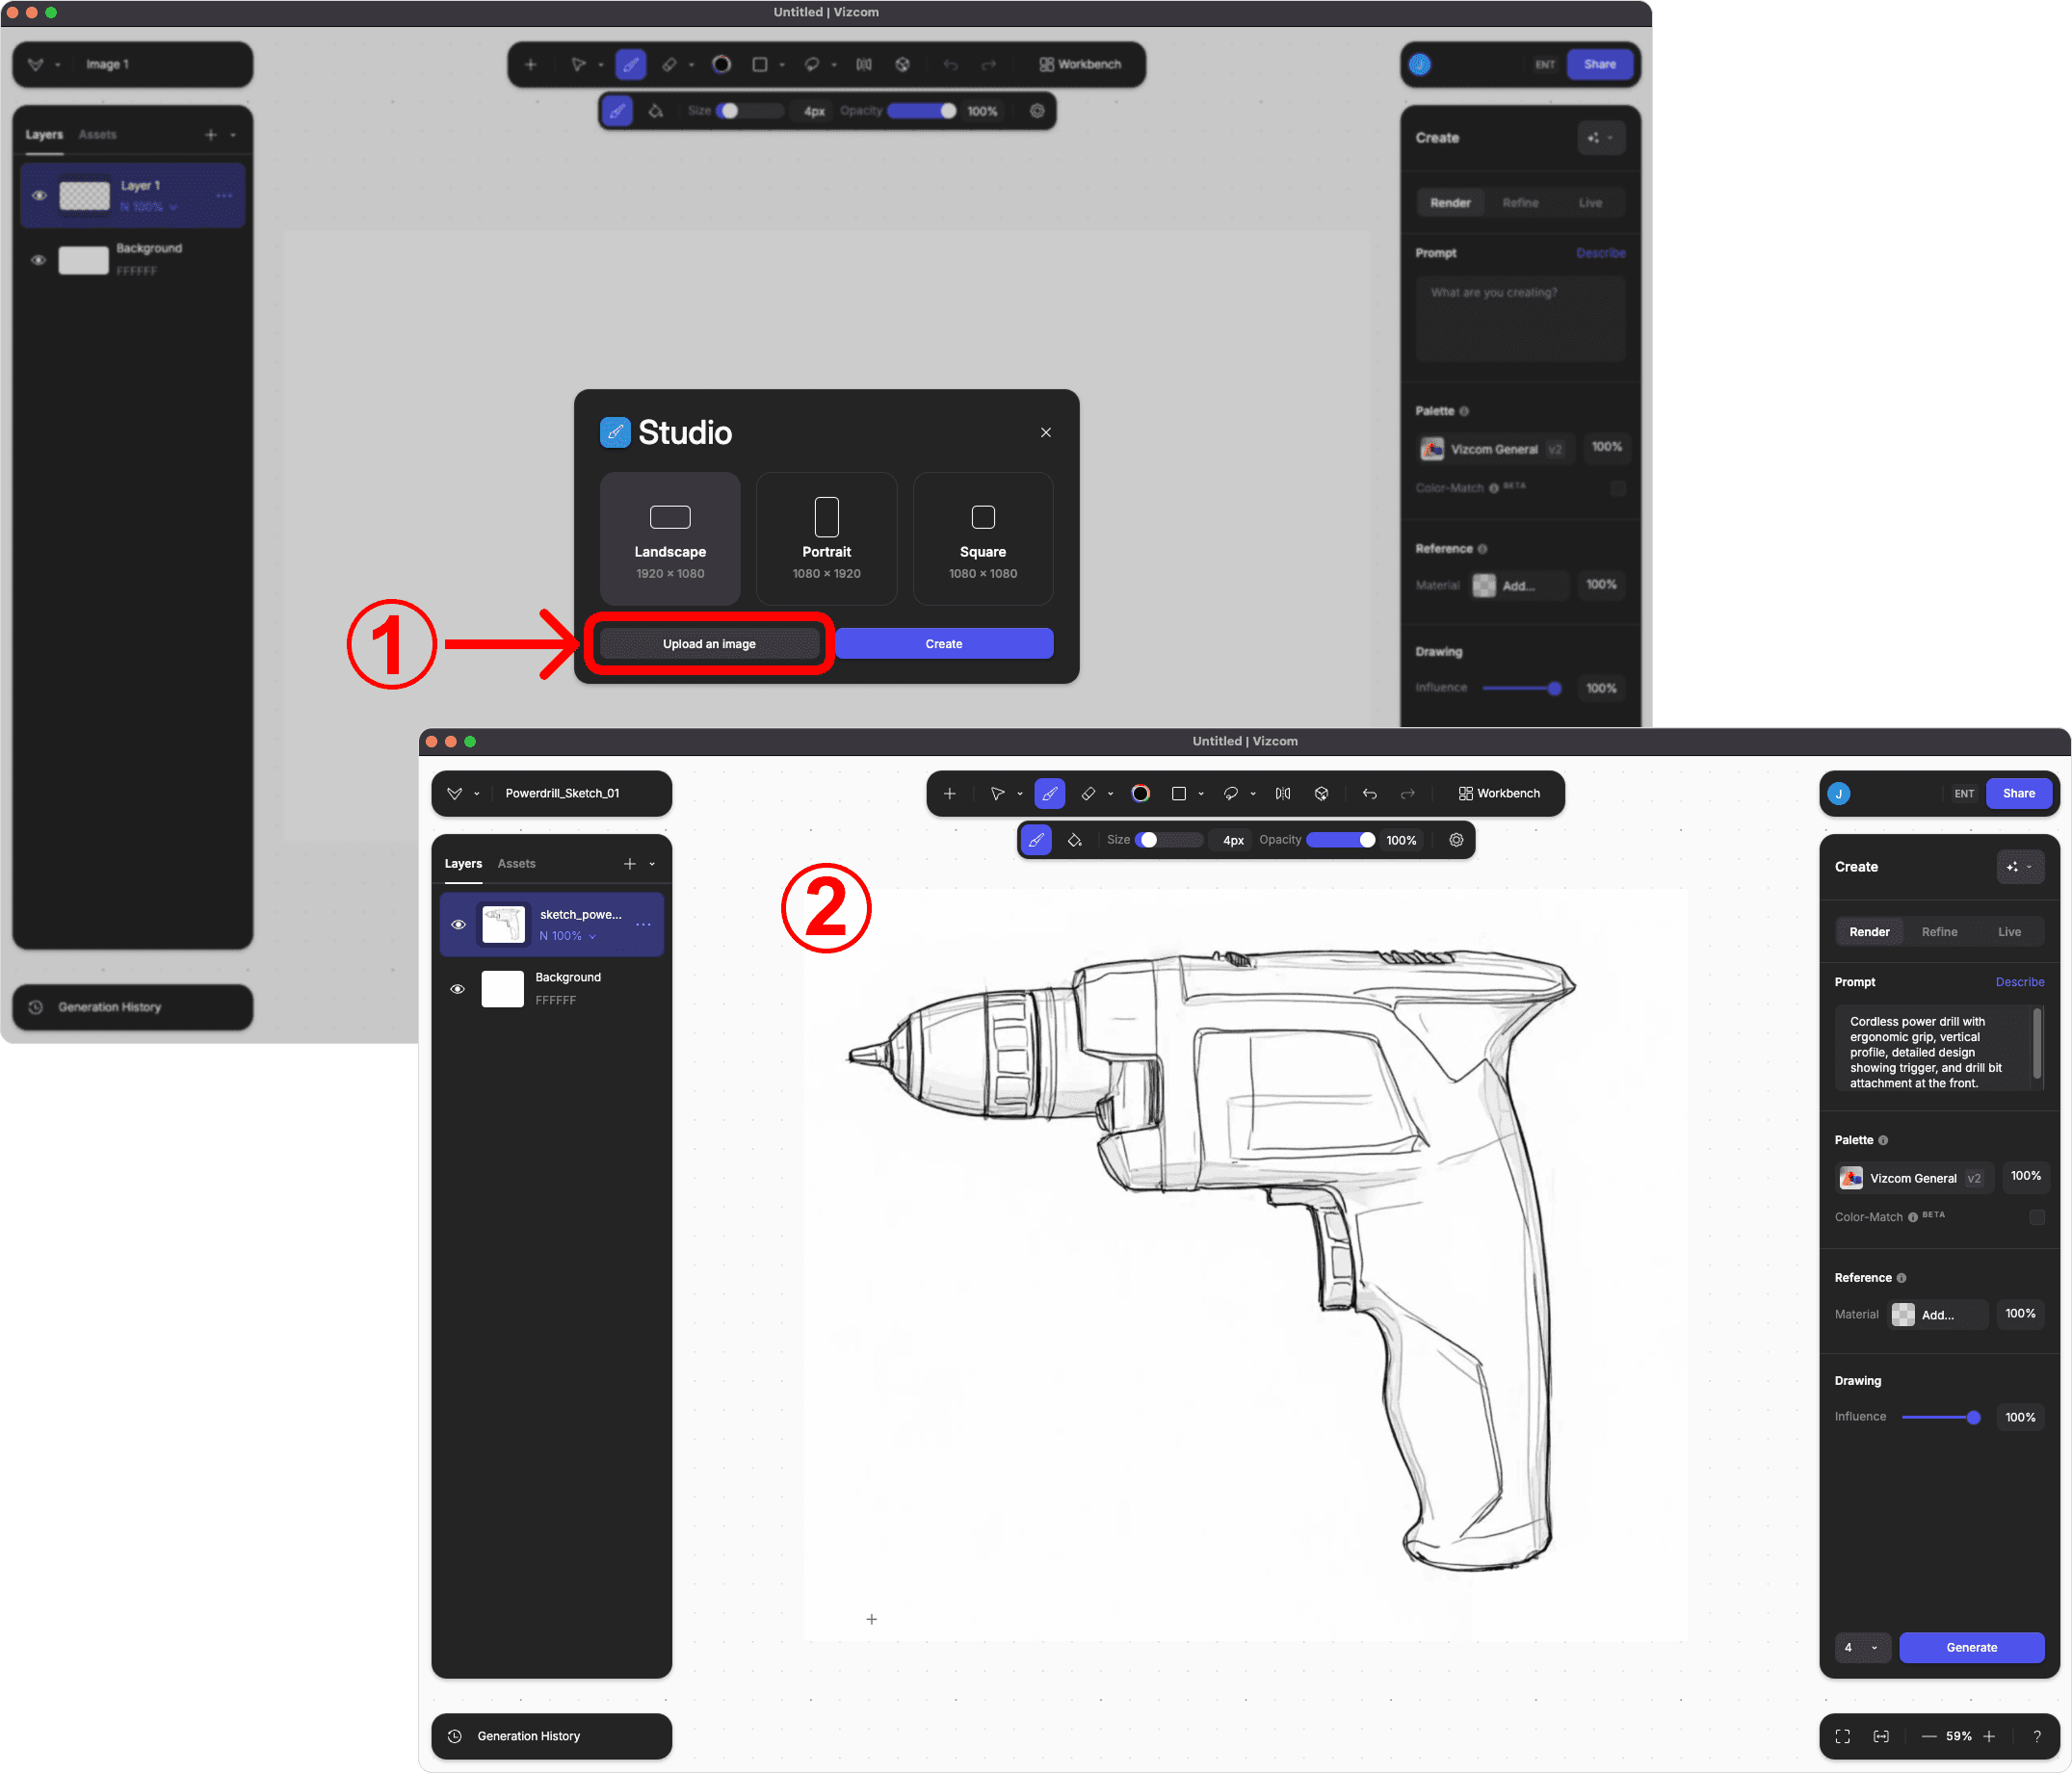
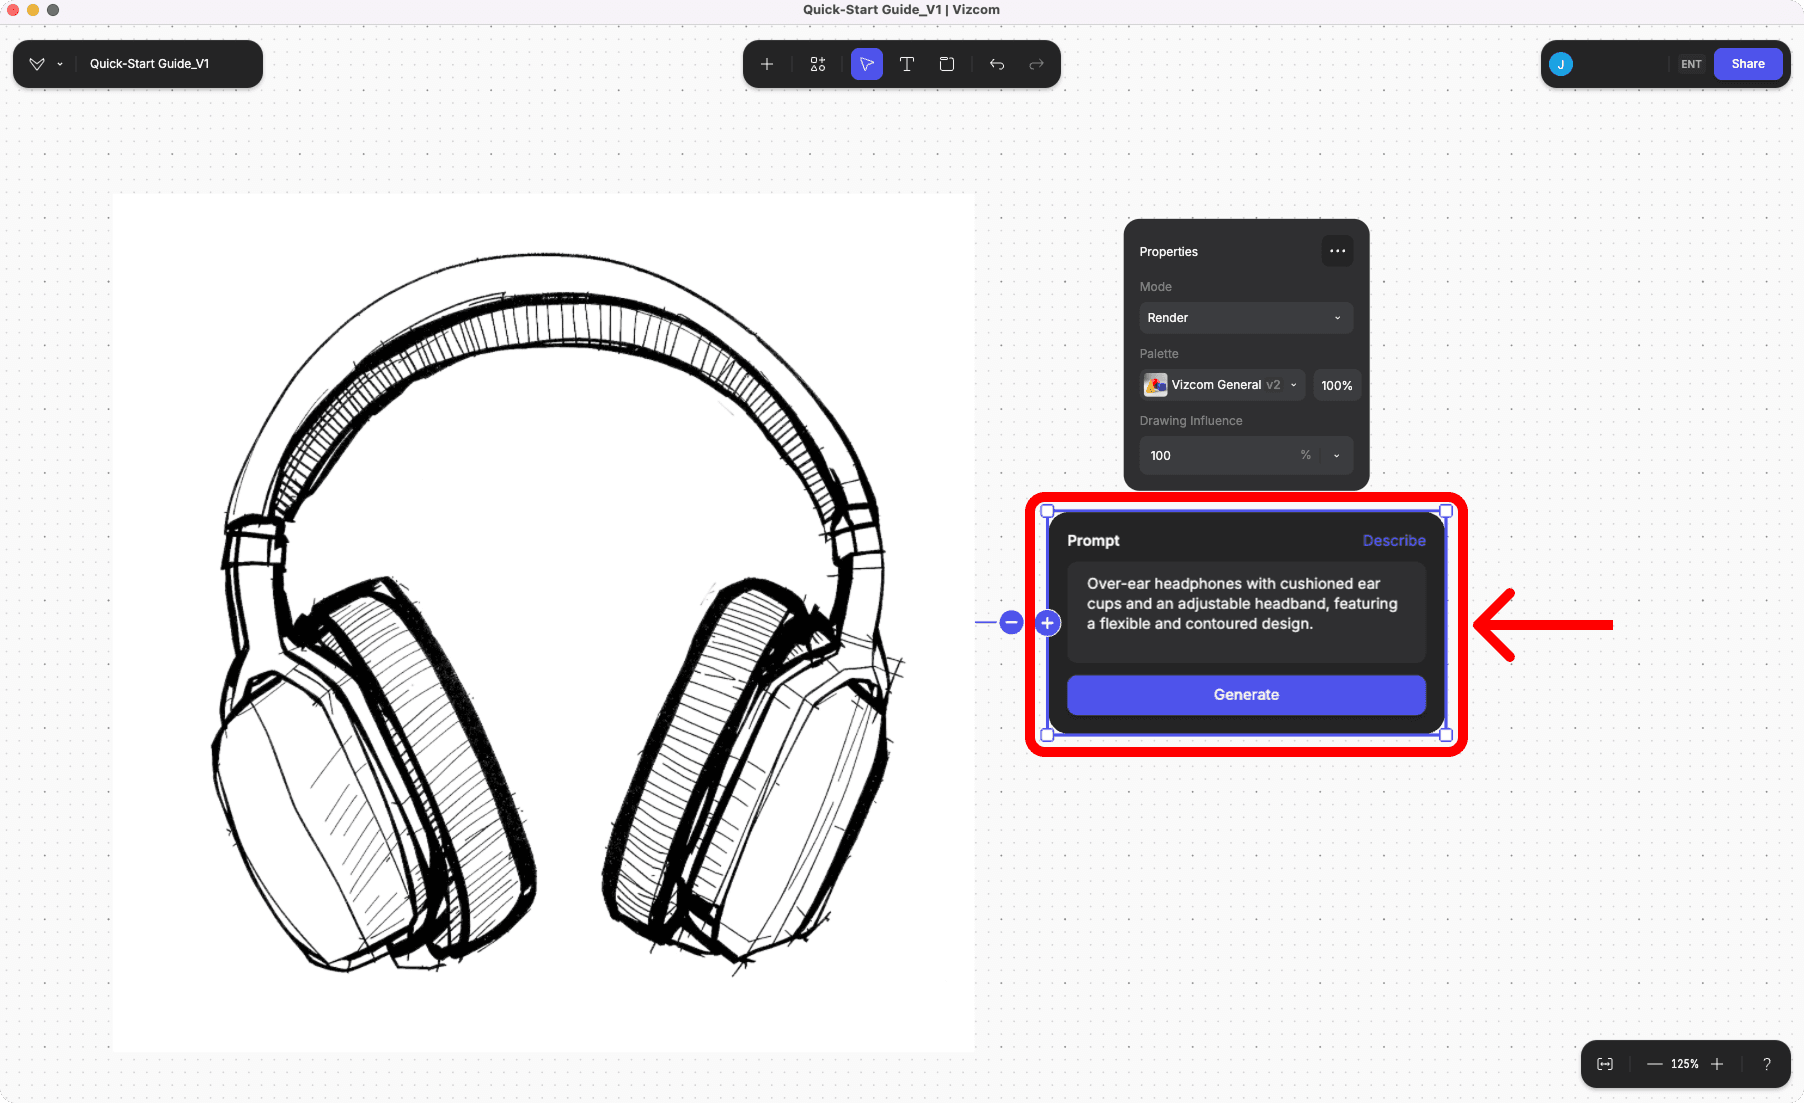
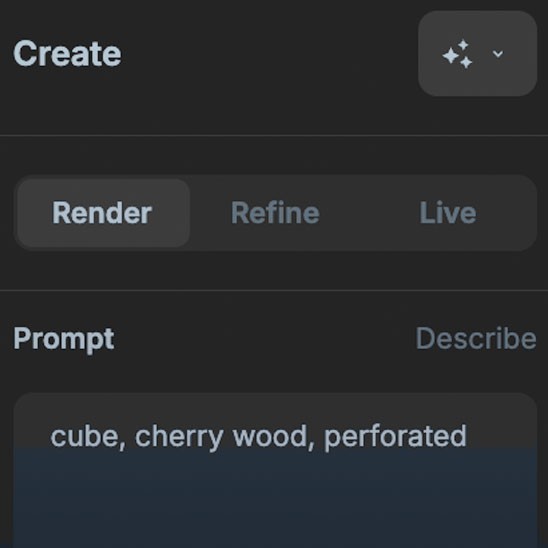
Step 3: Write Your Design Prompt
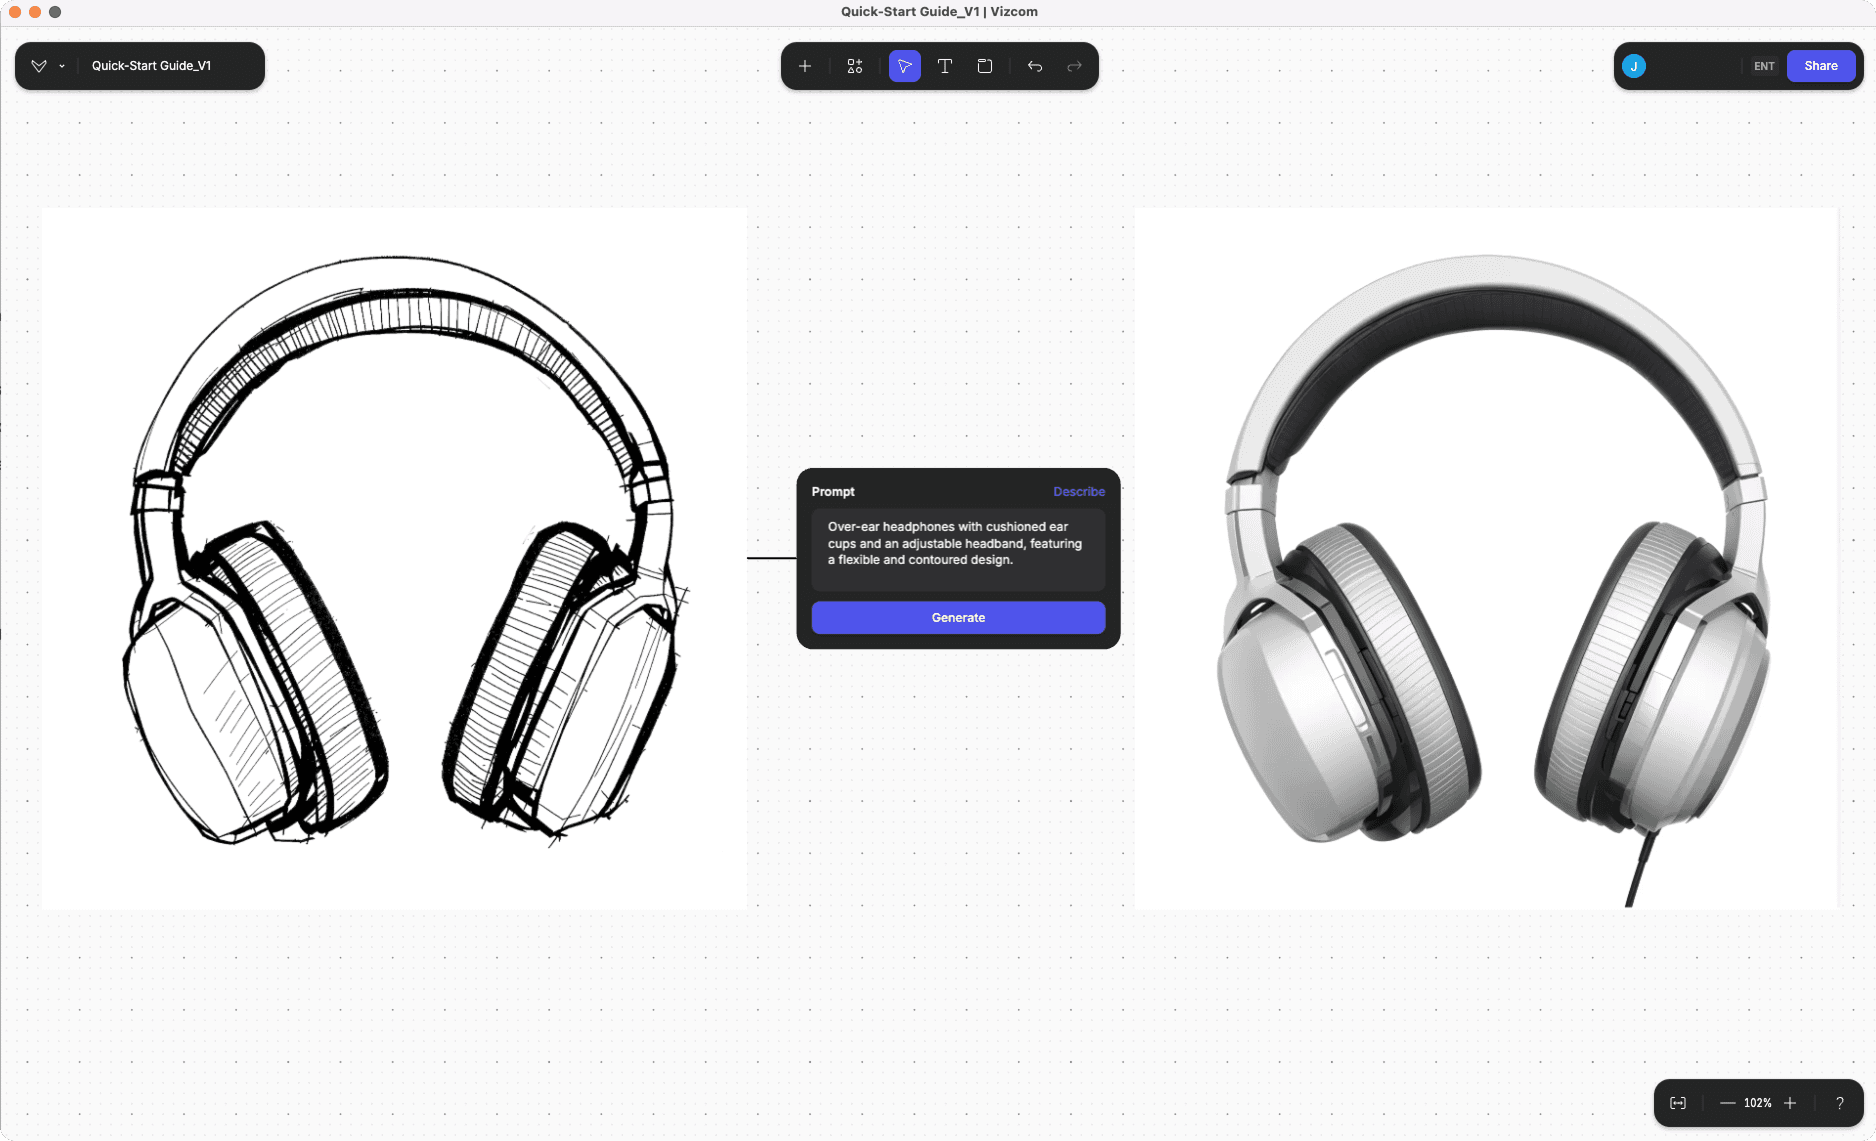
In the Properties panel, locate the prompt field
Describe your design vision clearly and specifically (use the auto-describe feature to start)
Include materials, style, colors, and key features

Example Prompts:
“Cordless power drill with ergonomic grip, vertical profile, detailed design showing trigger, and drill bit attachment at the front.”
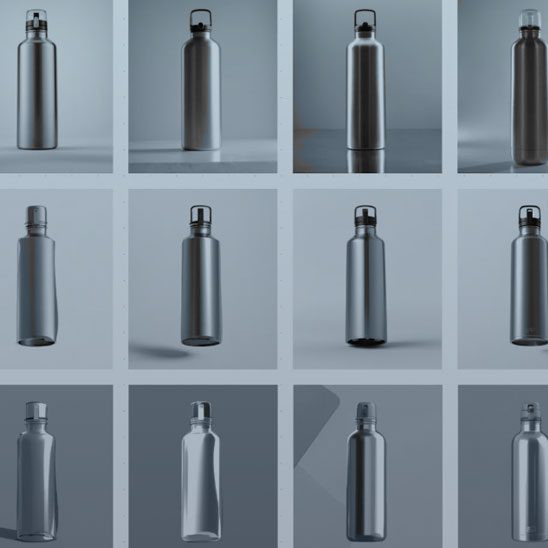
"Sleek modern water bottle with matte black finish and ergonomic grip"
"Mid-century modern armchair with walnut wood frame and olive green upholstery"
"Minimalist smartphone with edge-to-edge display and titanium body"
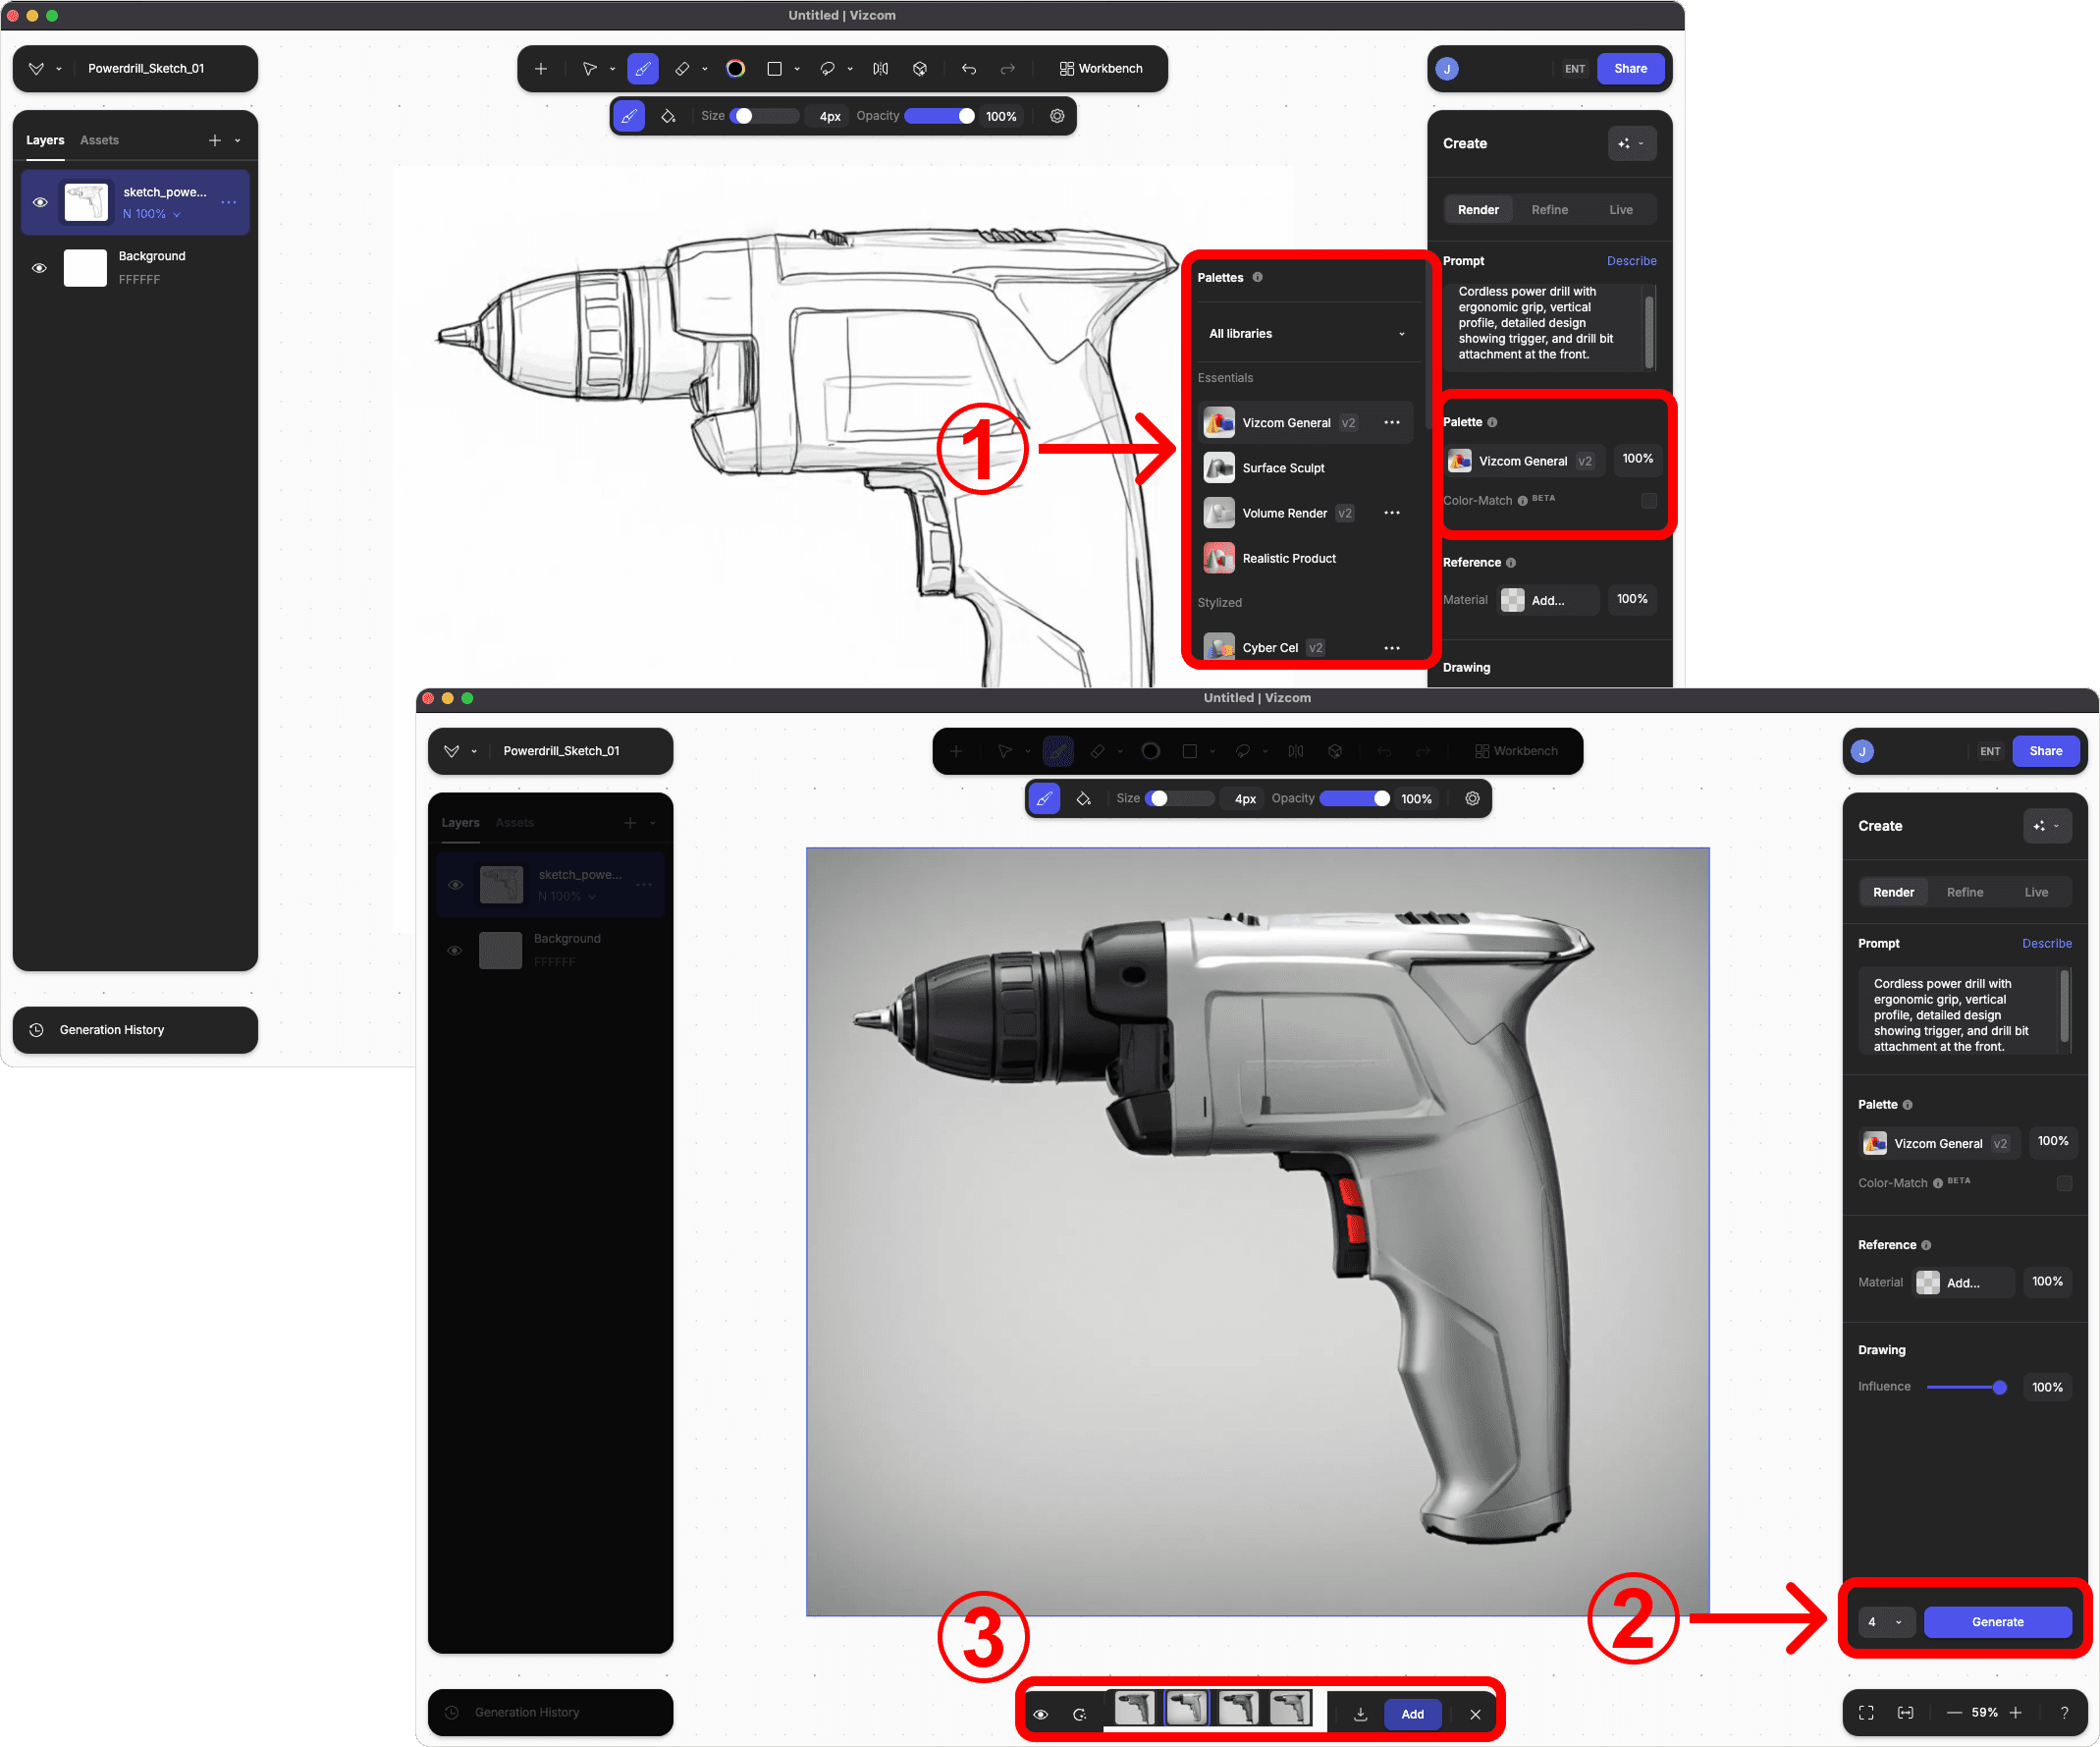
Step 4: Explore Palettes
Understanding Style Palettes Palettes in Vizcom are pre-configured visual styles that dramatically change how your AI renders look and feel. Think of them as different "lenses" - from photorealistic product shots to artistic sketches to specialized automotive visualizations. Each palette is optimized for specific design goals and presentation contexts.
How to Select and Apply Palettes
Browse available palettes in the right panel under "Palettes"
Click on any palette thumbnail to select it
The selected palette will be highlighted and applied to your next generation
Switch between "All libraries" and specific categories to find the right style
When to Use Different Palette Options
Vizcom General: Best starting point for realistic product visualization
Surface Sculpt/Volume Render: When you need to emphasize form and dimensionality
Realistic Product: For final presentation-ready, photorealistic outputs
Stylized options (Cyber Cel, Technicolor): For creative exploration or when matching specific brand aesthetics
Design Sketch/Line Art: When you want to maintain a more conceptual, hand-drawn appearance
Automotive palettes: Specifically when working on vehicle, mobility, or transportation projects
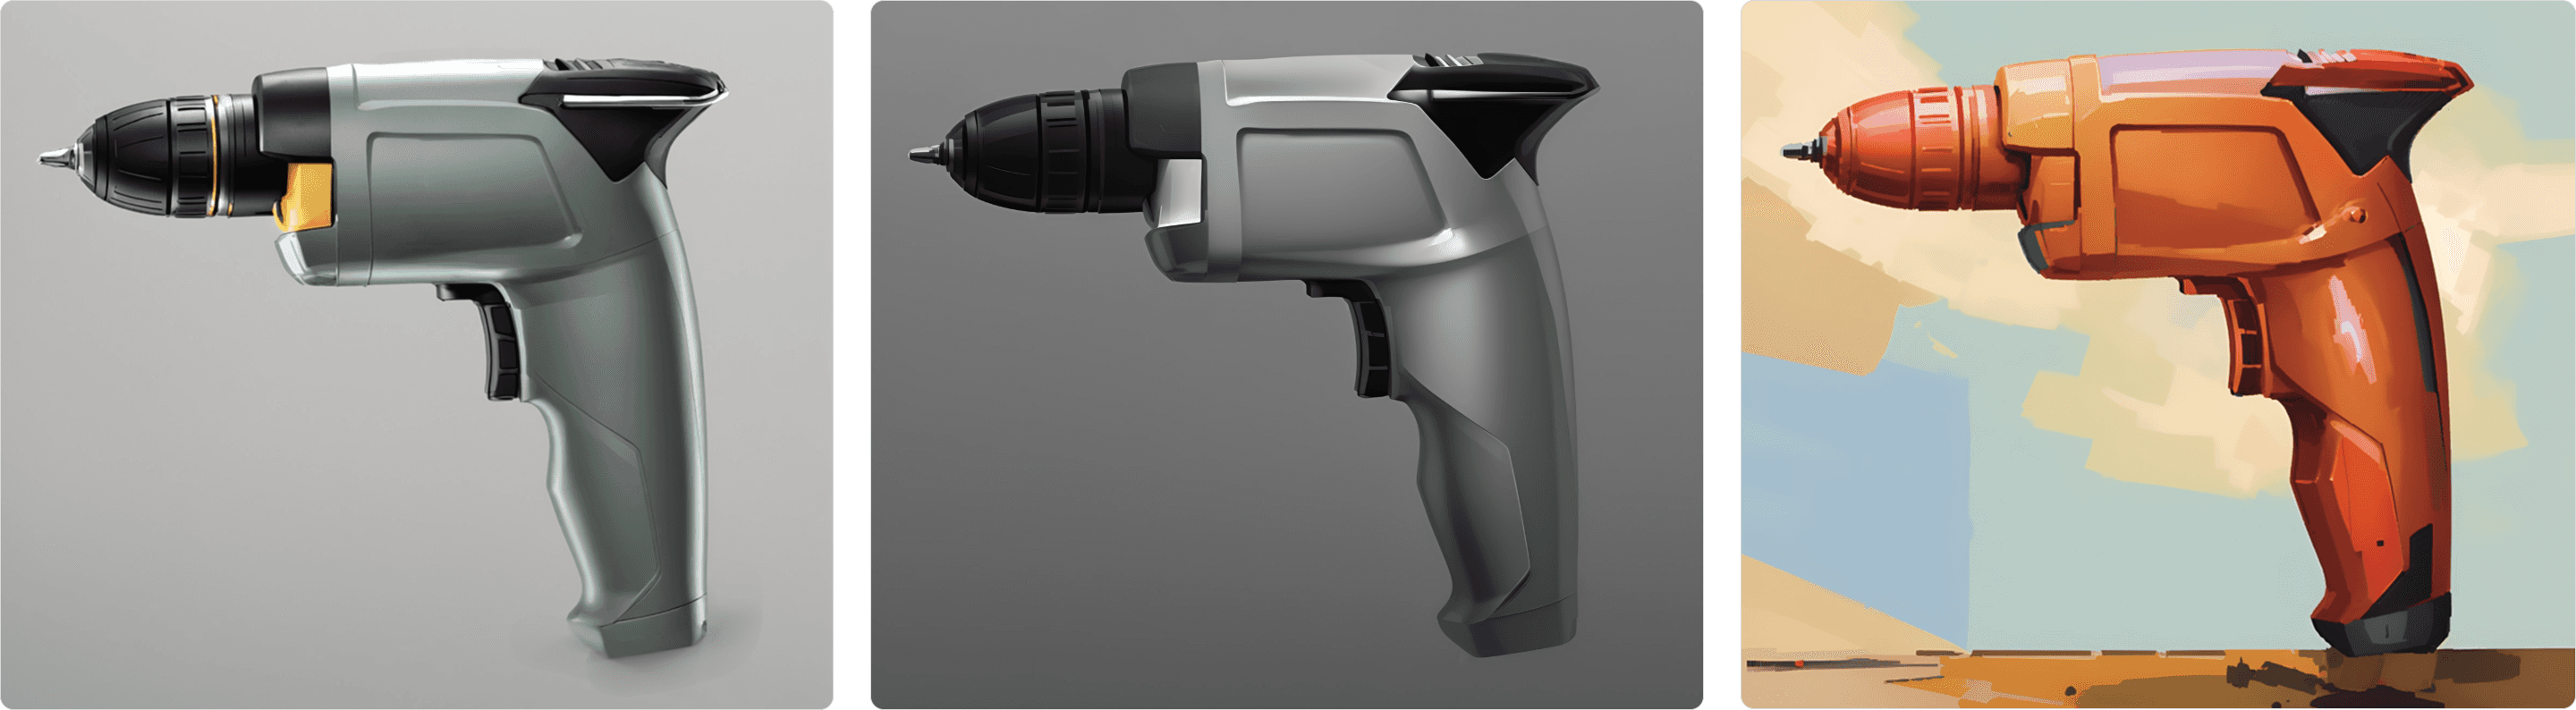
Palette Examples: Vizcom General, Surface Sculpt, Technicolor
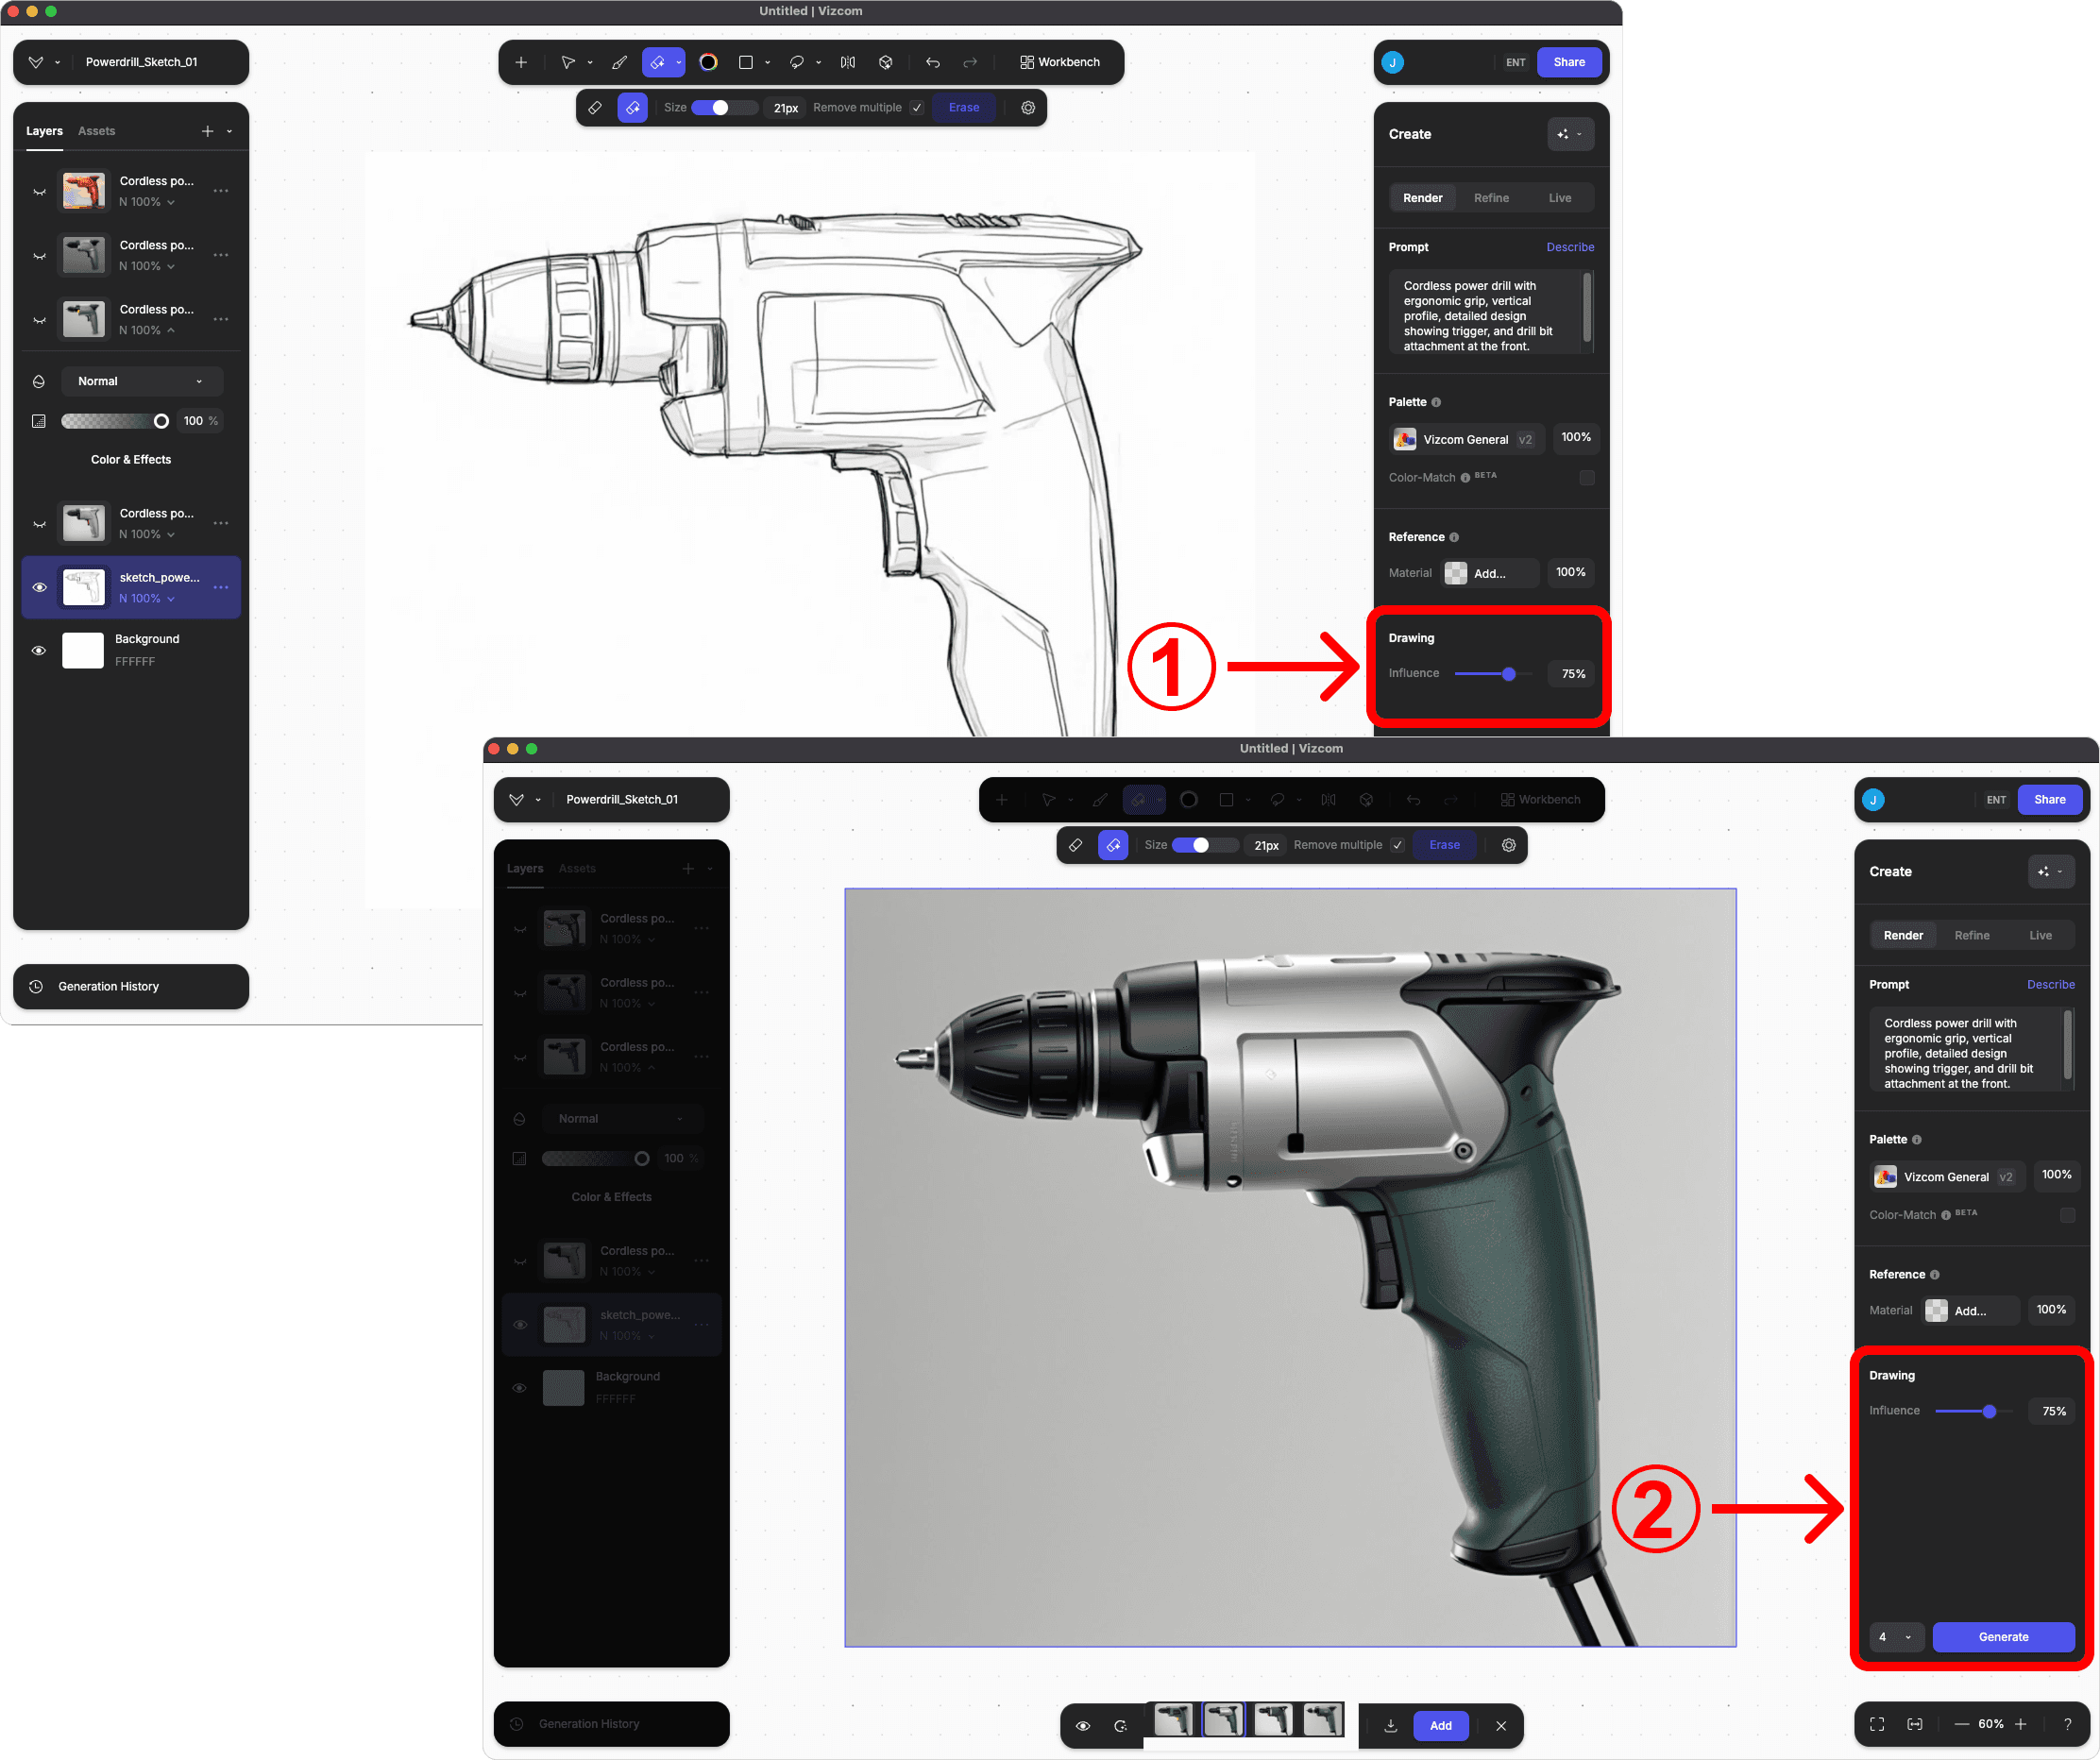
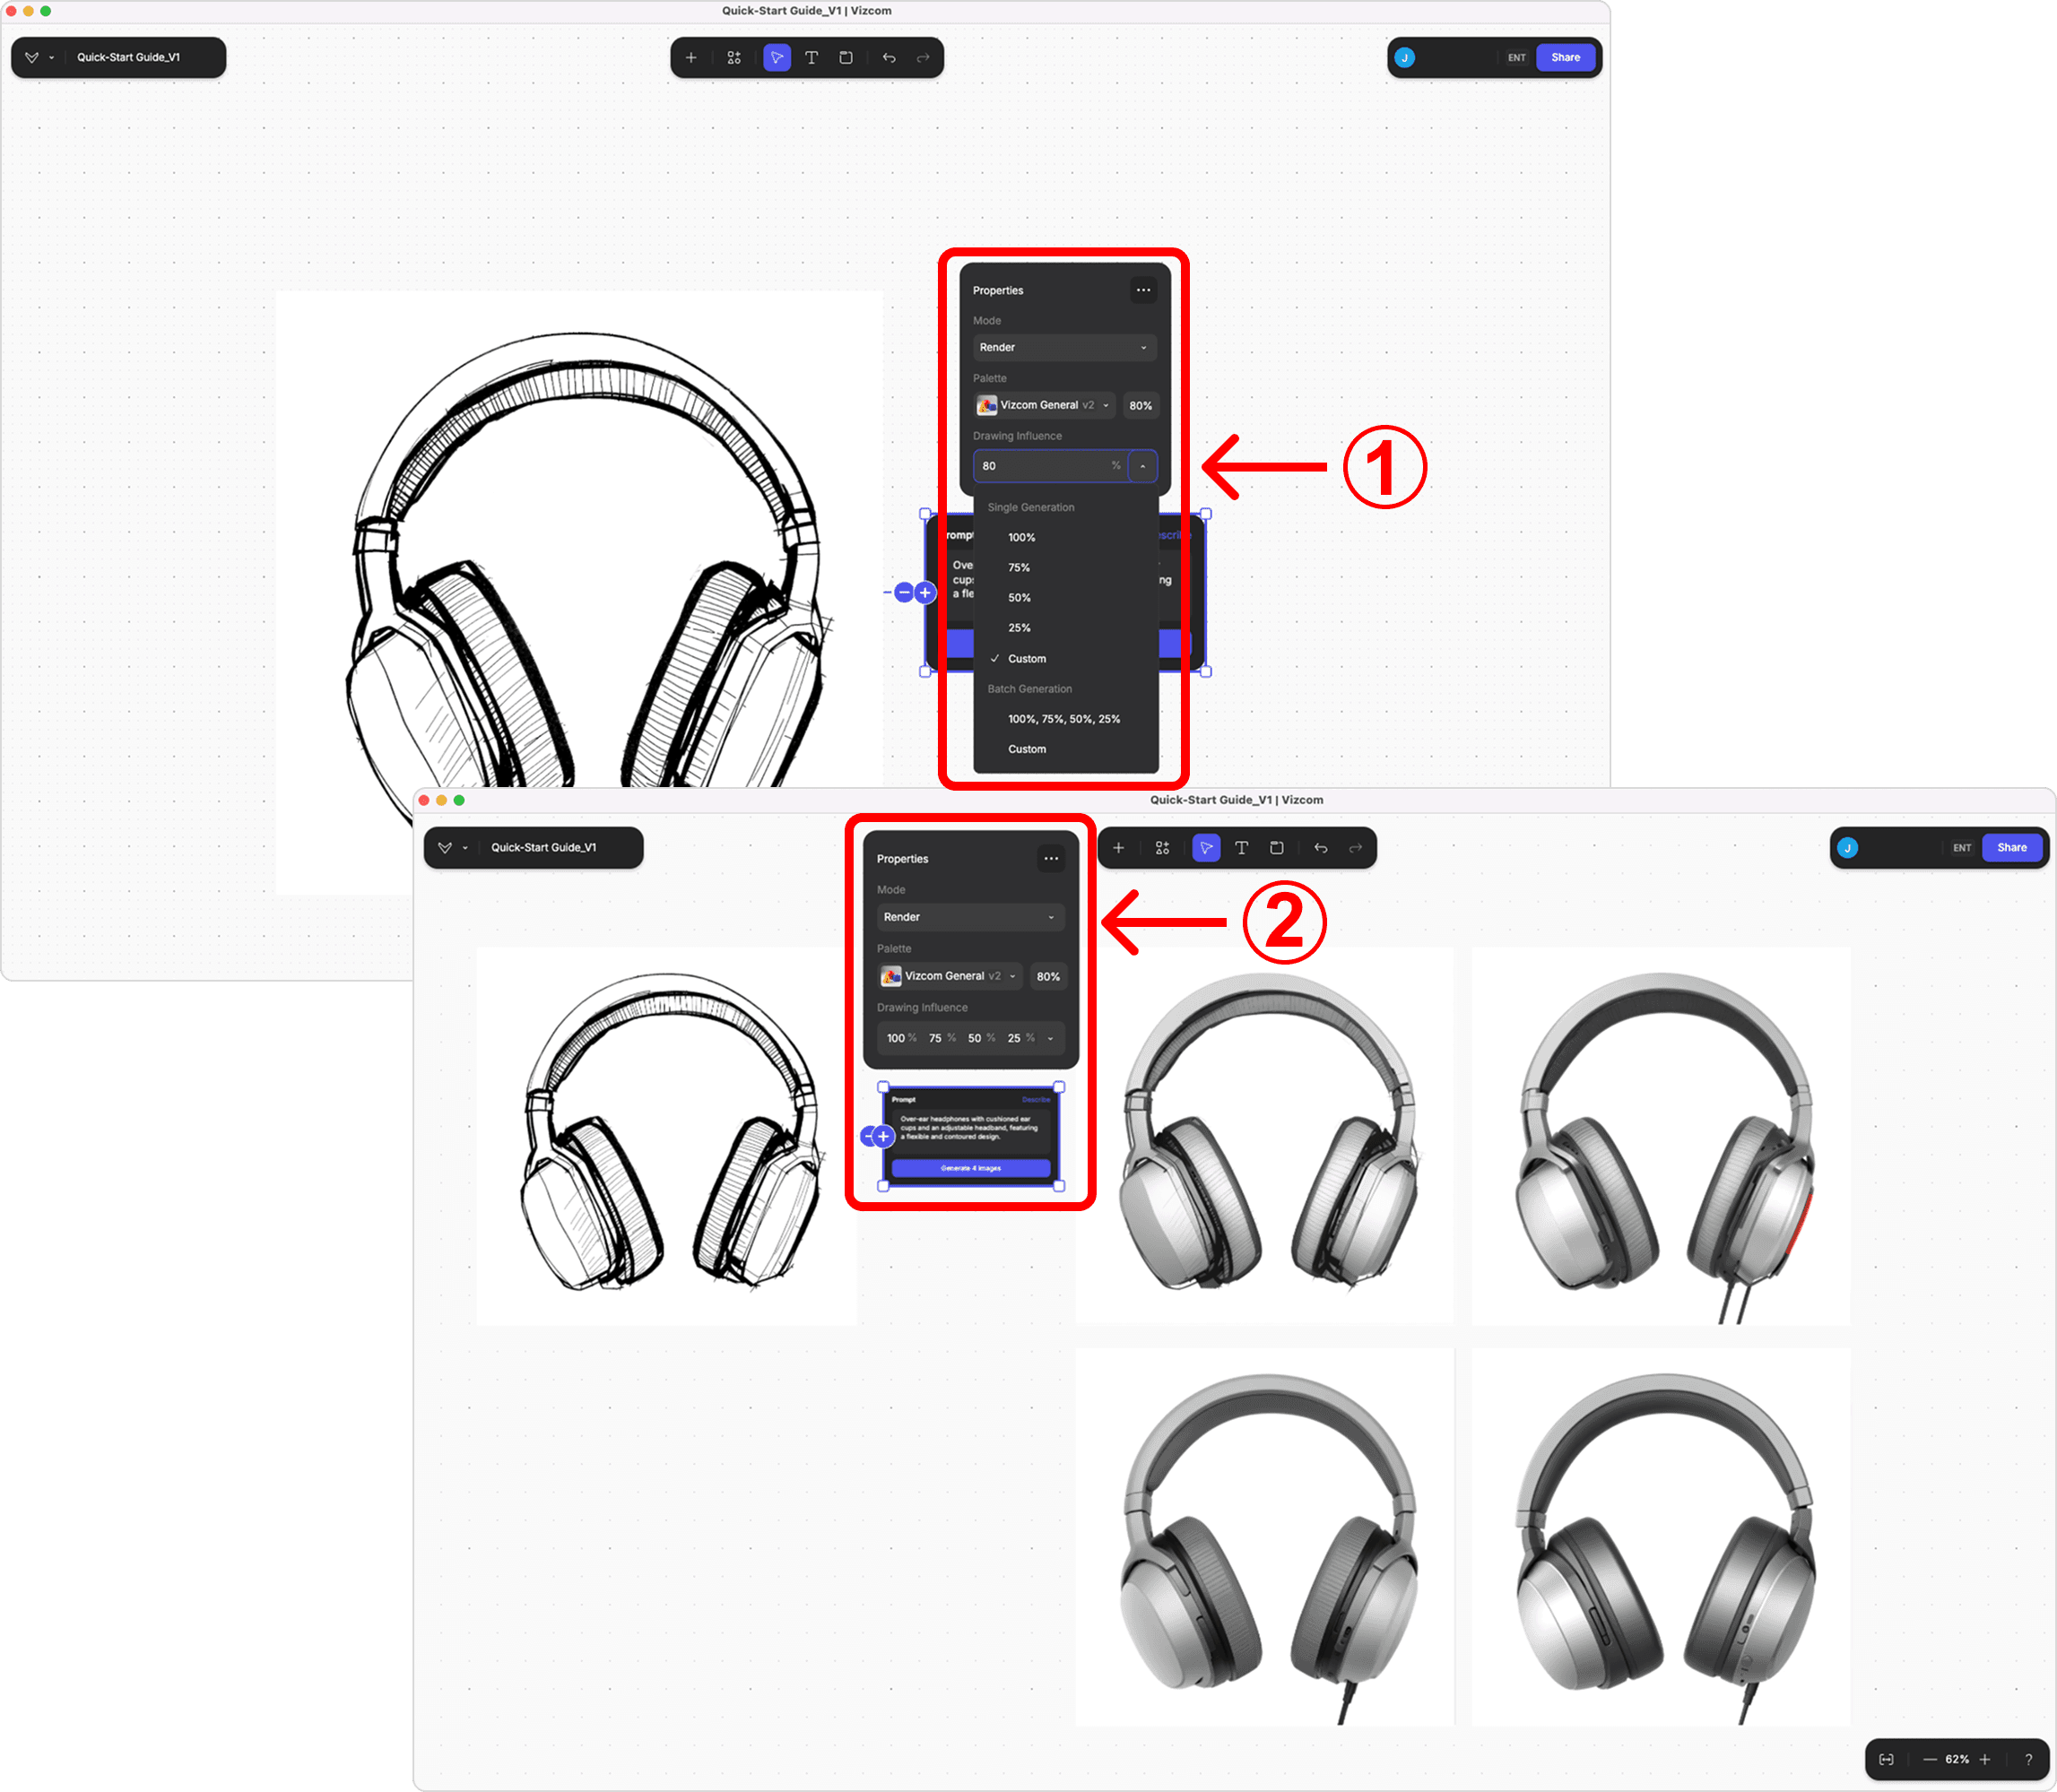
Step 5: Adjust Drawing Influence
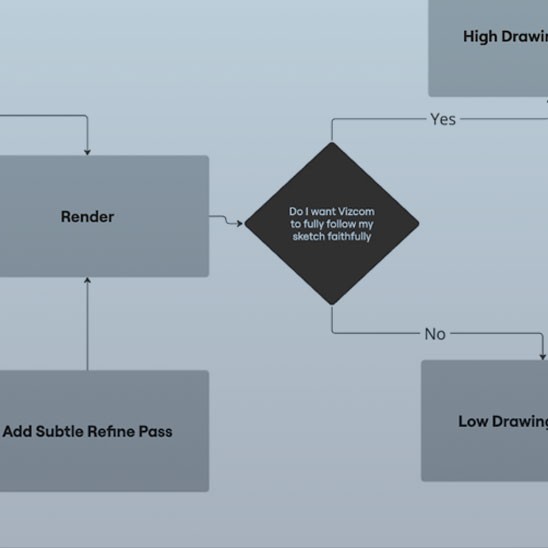
Drawing Influence controls how closely Vizcom follows your original sketch versus allowing creative AI interpretation. Higher influence (70-90%) means the AI stays faithful to your sketch's proportions, details, and overall form - ideal when you have a well-developed drawing. Lower influence (30-50%) gives the AI more creative freedom to interpret and enhance your concept, perfect for rough sketches or when you want unexpected design variations. Most users find success starting around 60-75% and adjusting based on their sketch quality and desired outcome.
Once you feel comfortable with the interface, the Workbench (Phase II) is even more ideal for exploring and comparing different influence settings systematically.
How to Adjust Influence
Locate the "Influence" slider in the Drawing section of the right panel
Drag the slider to your desired percentage
Preview different settings to find the sweet spot for your sketch
Remember: there's no "perfect" setting - it depends on your sketch and creative goals
Step 6: Ready for Advanced Workflows
The more you experiment with different prompts, palettes, and influence settings, the better you'll understand how the AI interprets your designs. While you should definitely explore the Workbench (Phase 2) to see its full potential, spending time building confidence in Design Mode first will give you a much more intuitive feel for the tool. This foundation makes the infinite creative possibilities of the Workbench far less overwhelming and much more purposeful when you're ready to scale up your ideation process.
Phase 2: Advanced (Workbench Mode)
Step 1: Start a New Project
Click "New Project" in the main toolbar
Choose a blank canvas
Give your project an identifiable name
Step 2: Add Your Design Input
Option A: Upload an Existing Sketch
Click the "Upload" button in the tools panel
Select a sketch file (.jpg, .png, .pdf)
Your sketch will appear in the workbench
Option B: Draw Directly in Vizcom
Select the sketch tool from the tools panel
Draw directly on the canvas
Use the eraser tool to refine your sketch
Step 3: Write Your Design Prompt
In the Properties panel, locate the prompt field
Describe your design vision clearly and specifically (use the auto-describe feature to start)
Include materials, style, colors, and key features
Example Prompts:
"Sleek modern water bottle with matte black finish and ergonomic grip"
"Mid-century modern armchair with walnut wood frame and olive green upholstery"
"Minimalist smartphone with edge-to-edge display and titanium body"
Step 4: Generate Your First Render
Click the "Render" button
Wait for processing (usually 10-30 seconds)
Your first AI-enhanced visualization appears!
Step 5: Adjust the Influence Percentage
Higher influence = AI follows your sketch more closely
Lower influence = AI has more creative freedom
Start with medium setting (around 50-70%)
Success Milestone: You've created your first Vizcom visualization! Now you're ready to iterate and refine.
How to choose between Render Mode for rapid concept generation and Refine Mode for fine-tuning and improvements.
Practical tips for beginners on how to sketch, prompt, iterate, and organize effectively.
Continue your Vizcom journey and explore advanced features.
Learn core features & workflows, how to sketch, prompt, render, and organize your work in Vizcom.
Get up and running by creating your account, choosing the right setup, and learning how to navigate and organize your workspace
Learn how to start a project, add a sketch, write prompts, and apply palettes to shape your AI-generated designs.