Getting Started
Account Setup
Step 1: Create Your Account
Visit vizcom.ai
Click "Sign Up"
Use your educational email address if you're a student/educator (qualifies for EDU access)
Complete your profile information
Step 2: Choose Your Setup
Desktop App: Download for macOS or Windows
Web App: Access directly through your browser (no installation needed)
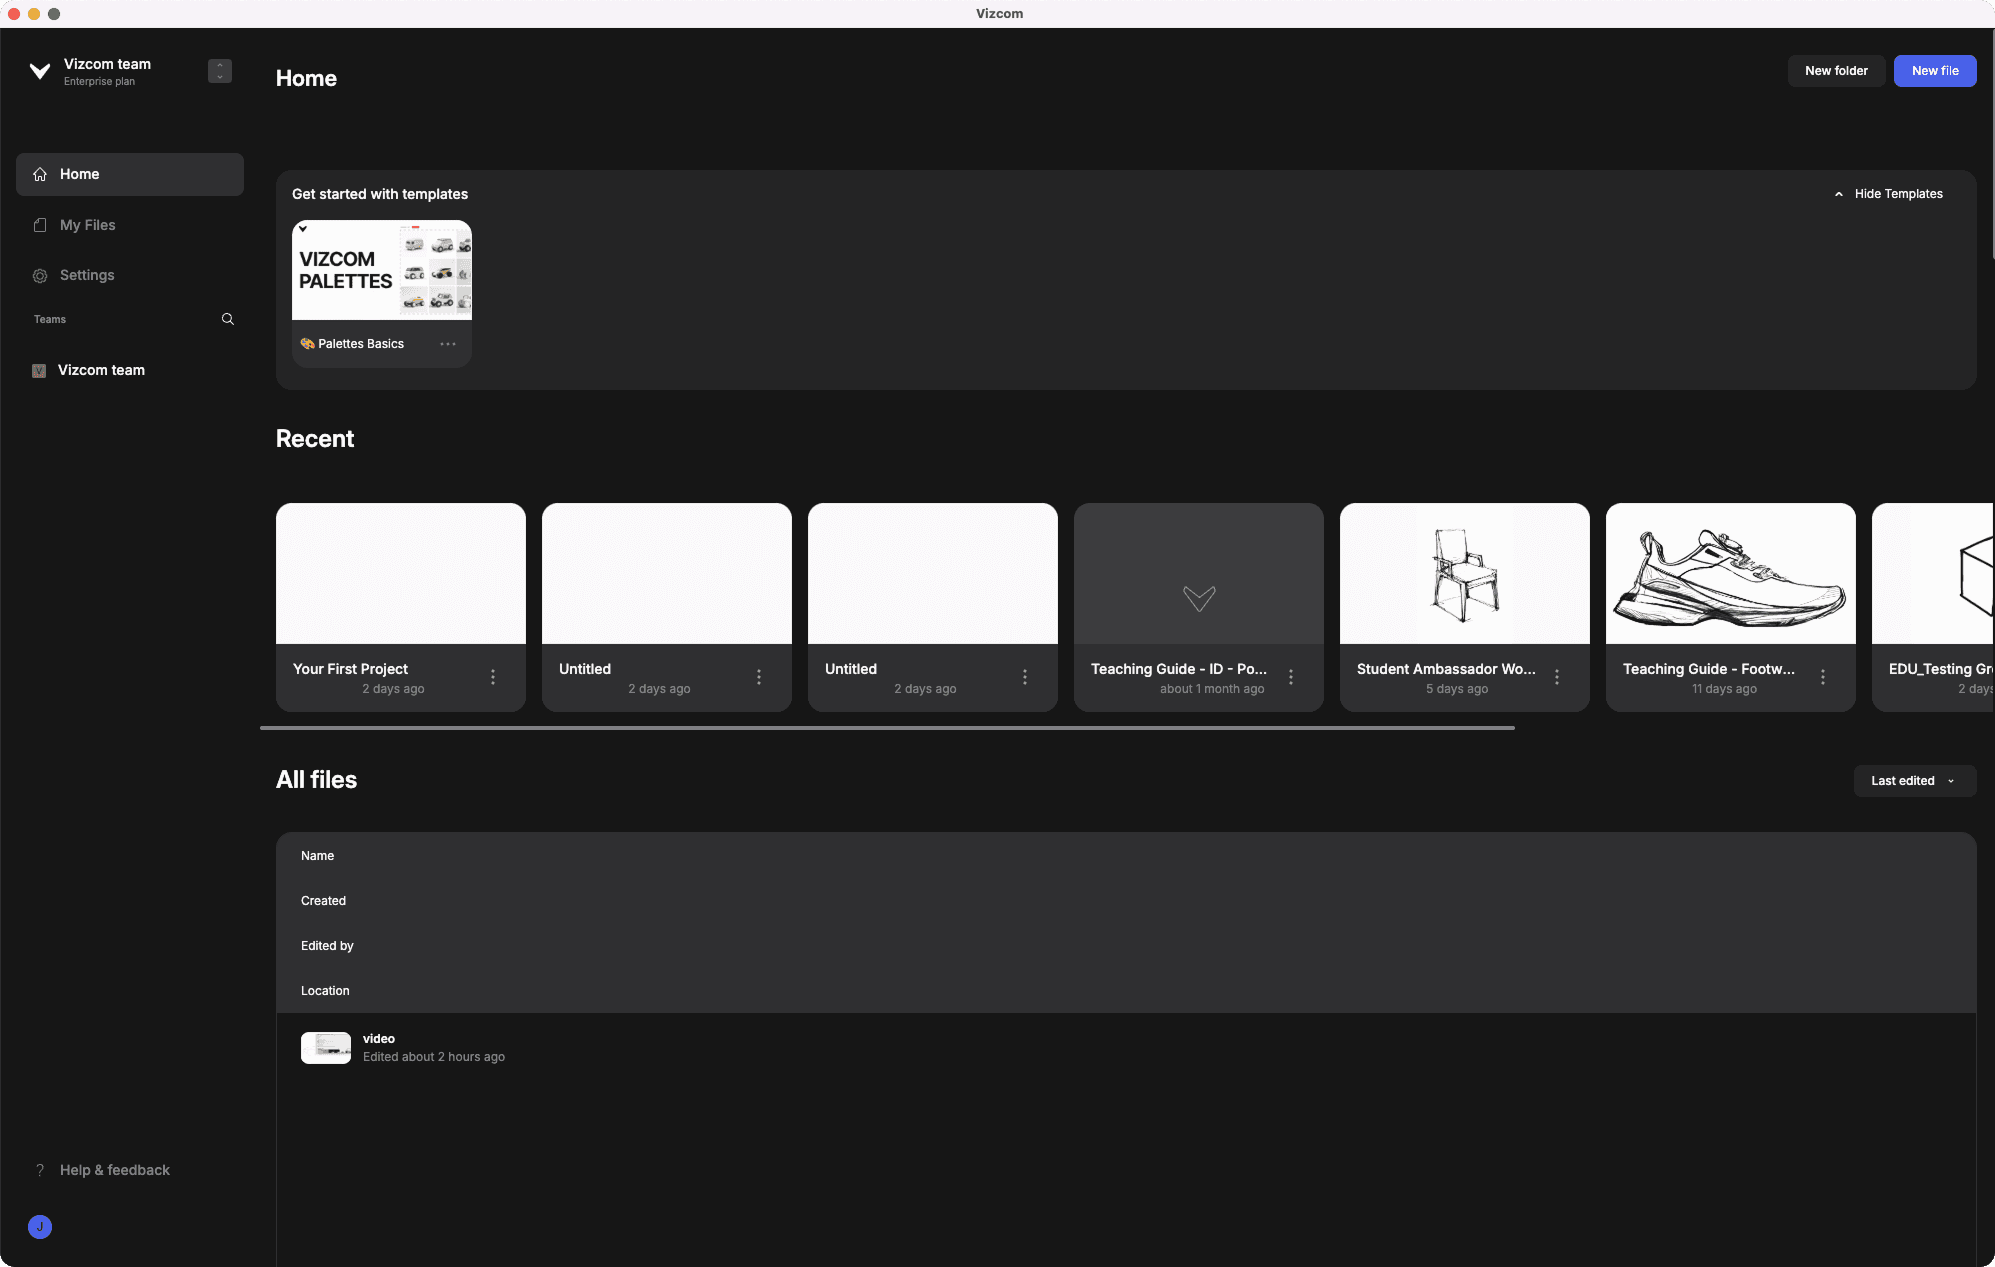
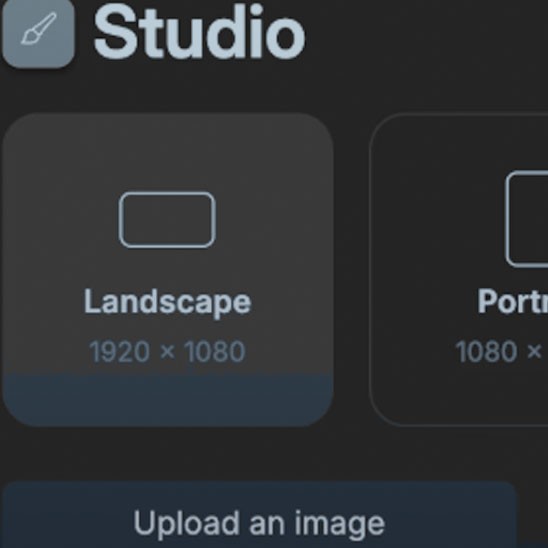
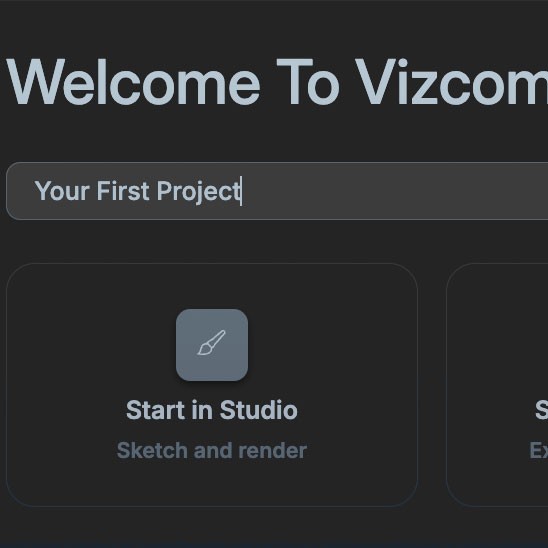
Step 3: Understanding your Workspace
Launch Vizcom and sign in
Familiarize yourself with the main navigation and home screen layout
File Organization & Management
Vizcom organizes your work into two main areas that serve different purposes. "My Files" contains your personal projects that only you can access - think of this as your private workspace for individual work, experiments, and personal portfolio pieces. "Workspace Files" shows projects shared within your team or organization, functioning as your collaborative space where team members can view, comment, or contribute to shared projects.

Organizing Your Projects
Create Folders by Purpose: Group projects by discipline ("Product Design," "Architecture"), course ("ID Studio Fall 2024"), or client work
Establish Naming Conventions: Use consistent formats like "Course_ProjectName_v1" or "Client_Product_Iteration2" to make projects easy to find later
Use Teams for Collaboration: Invite collaborators, set appropriate viewing permissions, and maintain organized shared workspaces
Best Practices for Long-term Success
Set up your folder structure before you have dozens of projects
Keep personal experiments in "My Files" and course/client work in appropriate "Workspace Files"
Review and clean up old projects regularly to maintain an organized workspace
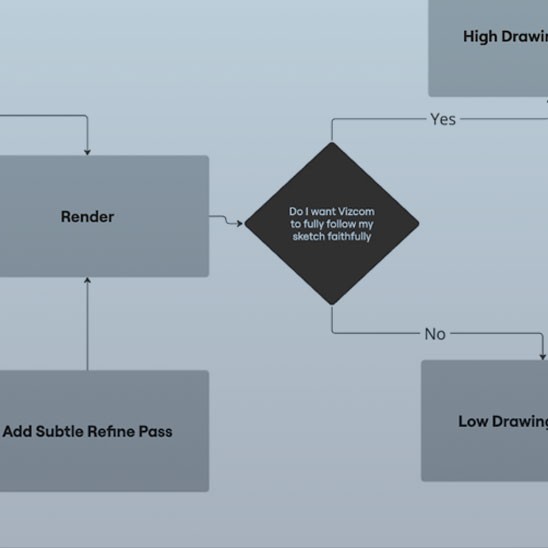
How to choose between Render Mode for rapid concept generation and Refine Mode for fine-tuning and improvements.

Practical tips for beginners on how to sketch, prompt, iterate, and organize effectively.
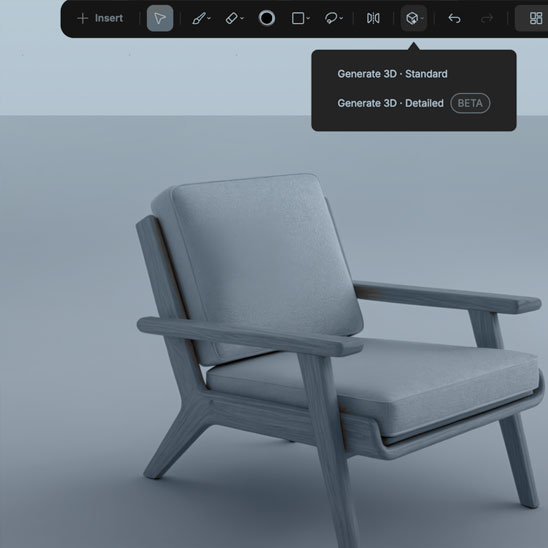
Continue your Vizcom journey and explore advanced features.
Learn core features & workflows, how to sketch, prompt, render, and organize your work in Vizcom.
Get up and running by creating your account, choosing the right setup, and learning how to navigate and organize your workspace
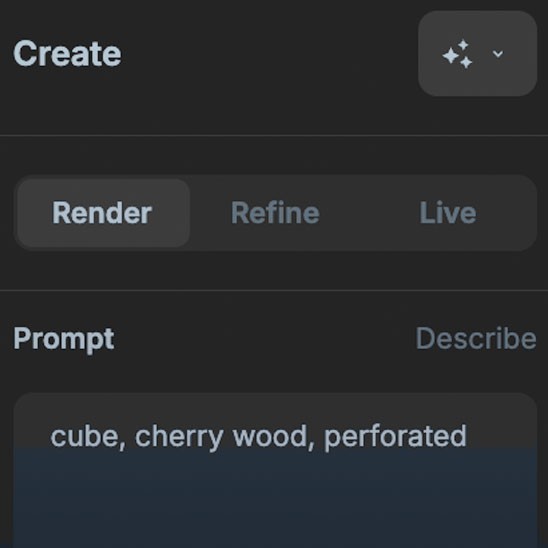
Learn how to start a project, add a sketch, write prompts, and apply palettes to shape your AI-generated designs.